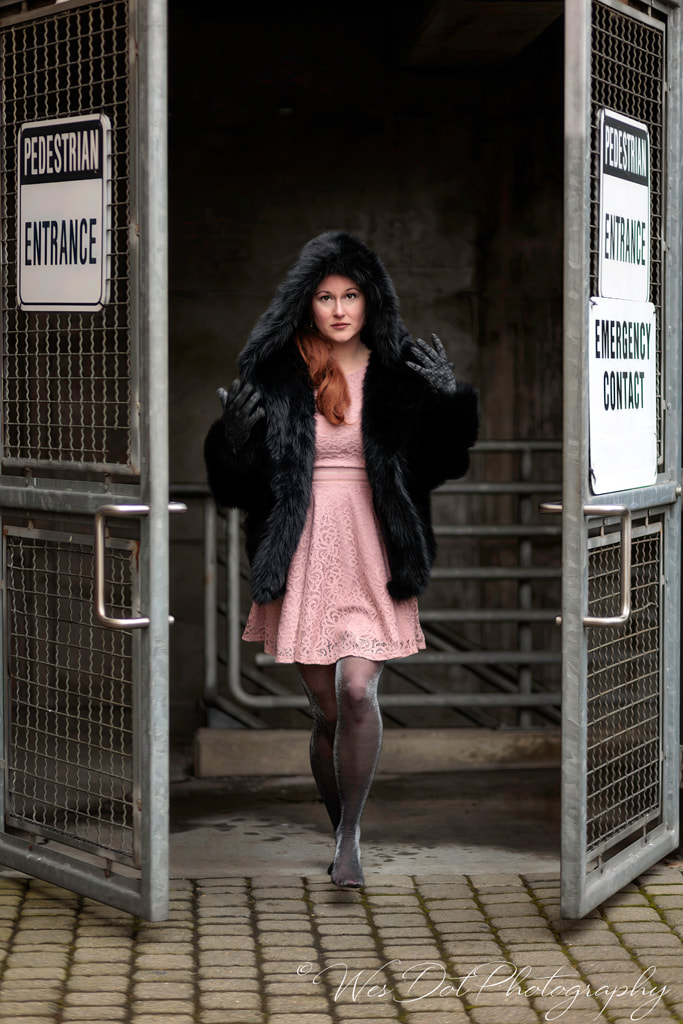
Generative fill is a new feature available on Adobe Photoshop. In a nutshell you can select a portion of your image and by using text/prompts you can fill that area with anything you can imagine. The magic of Artificial Intelligence is here to stay whether you love it or hate it. It's far from perfect but you can completely change a background or a small segment.
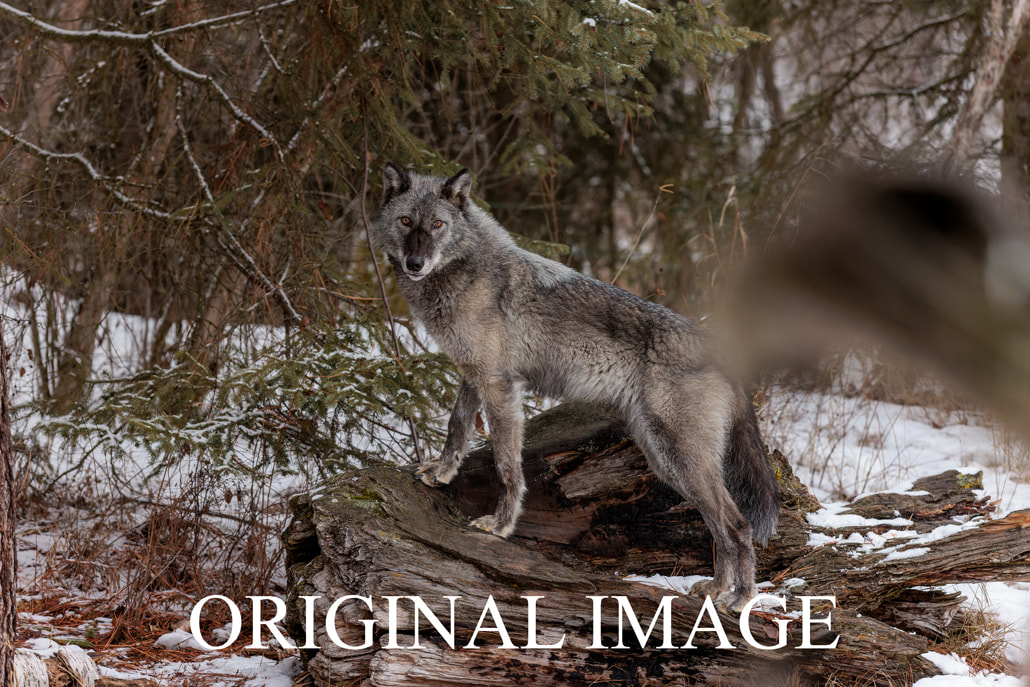
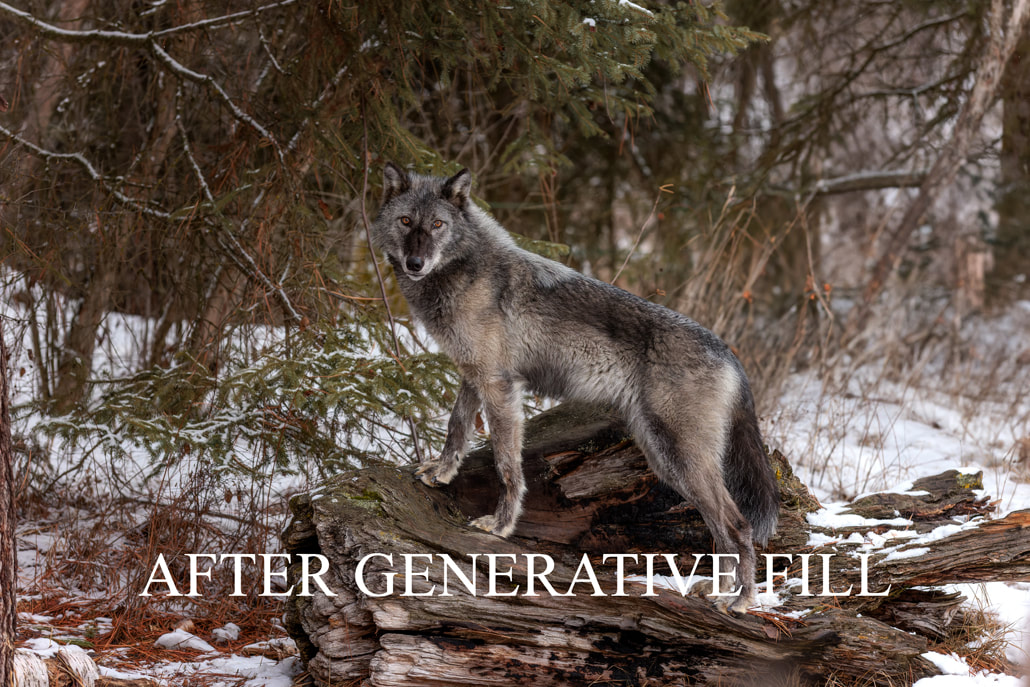
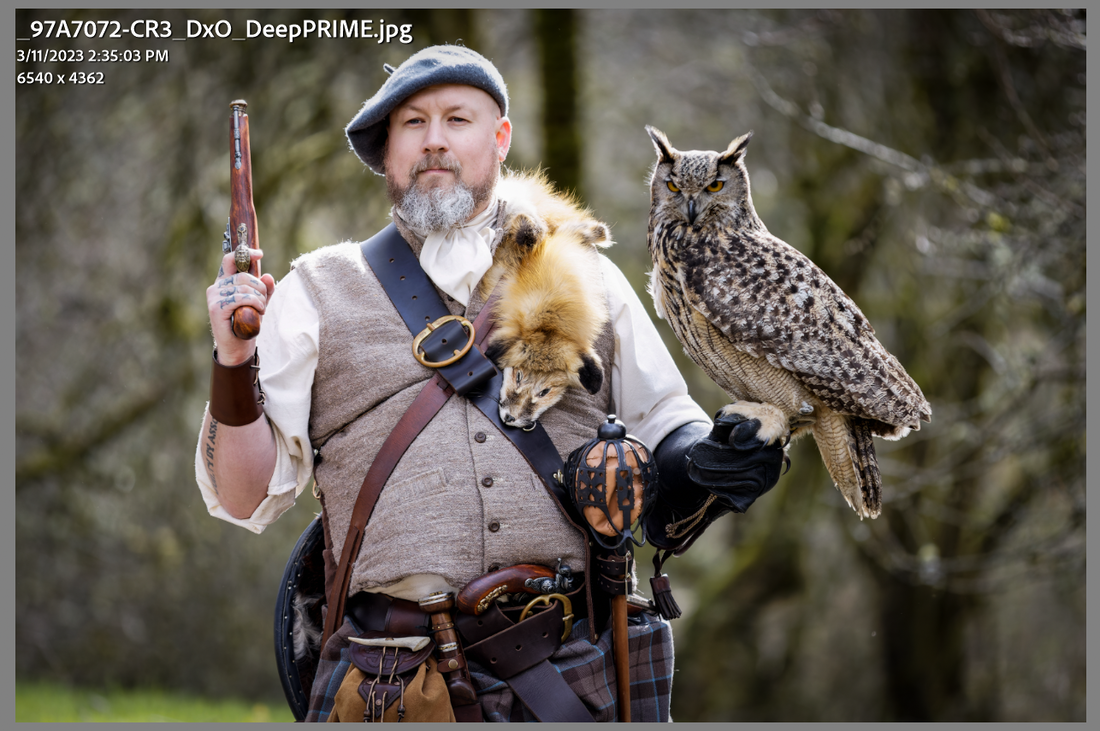
But here is another way to use the Generative Fill. I didn't notice a log very close to me was blurred and covered the back of the wolf until the wolf was done standing there and jumped off. Generative Fill very effectively and quickly saved this image.
But here is another way to use the Generative Fill. I didn't notice a log very close to me was blurred and covered the back of the wolf until the wolf was done standing there and jumped off. Generative Fill very effectively and quickly saved this image.

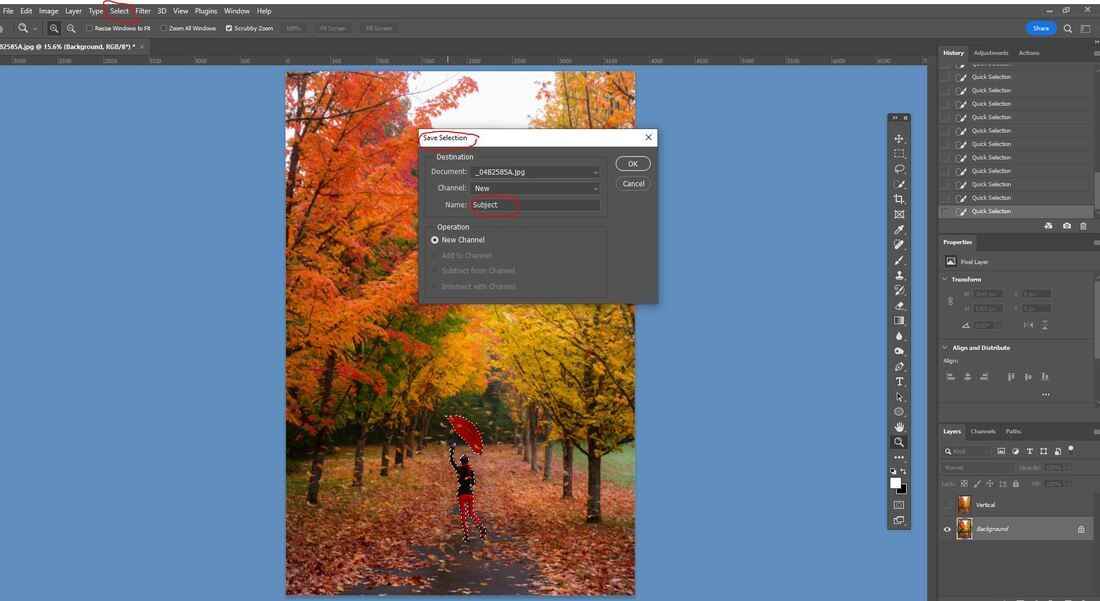
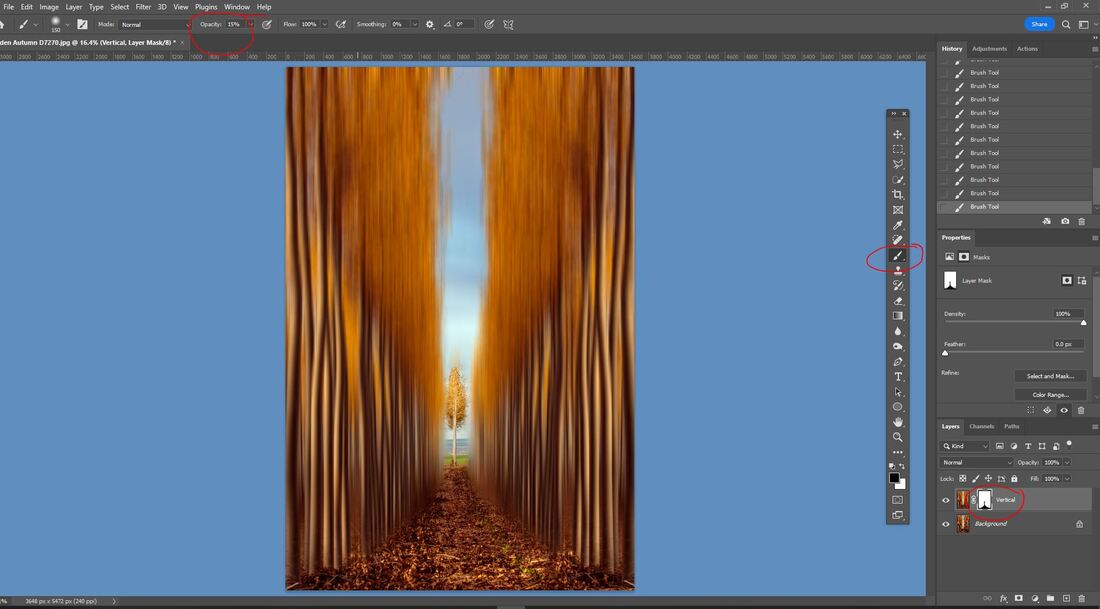
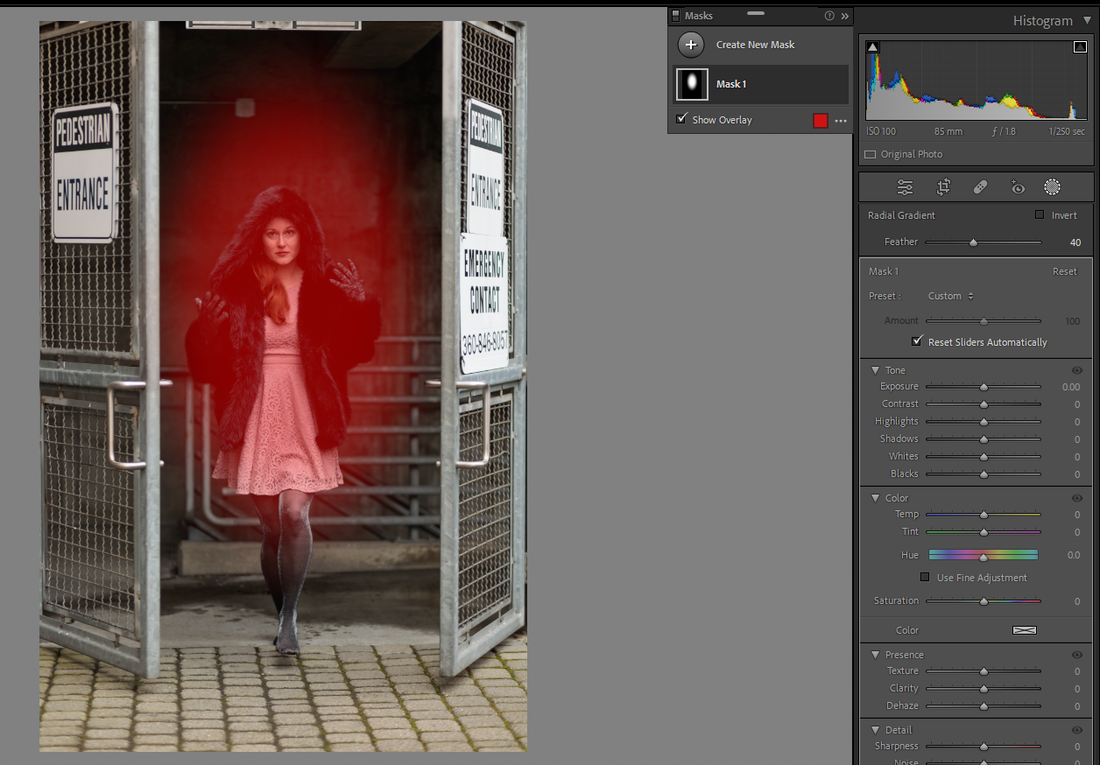
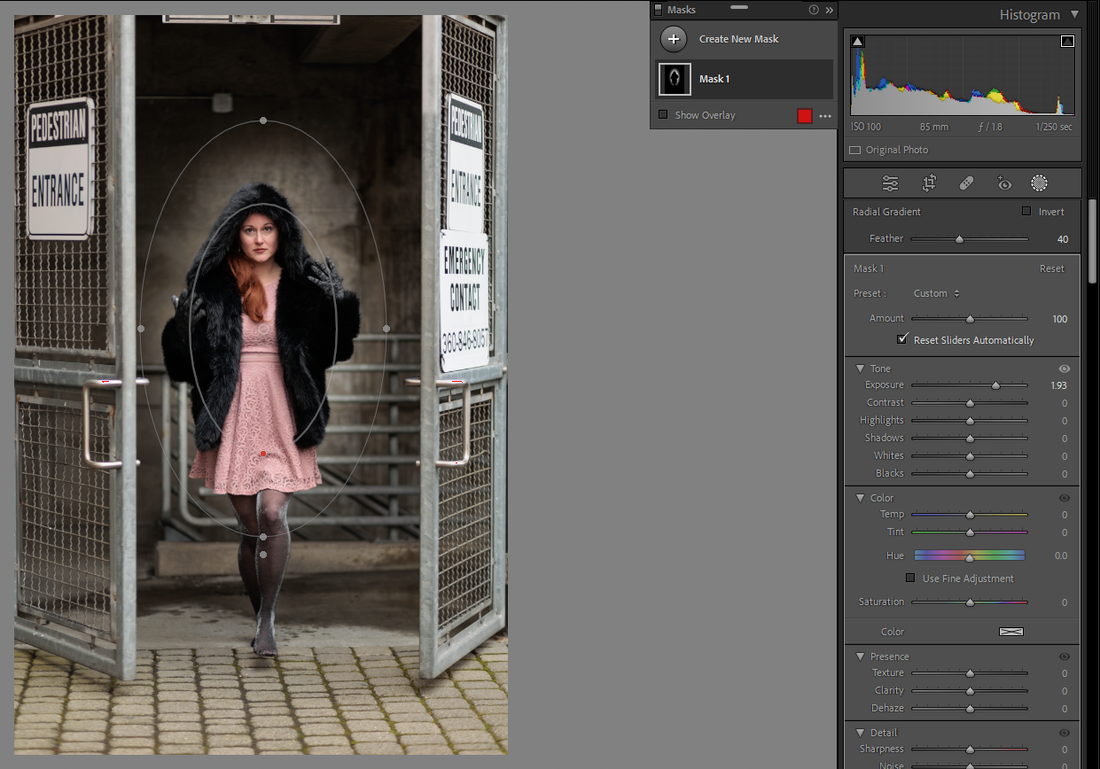
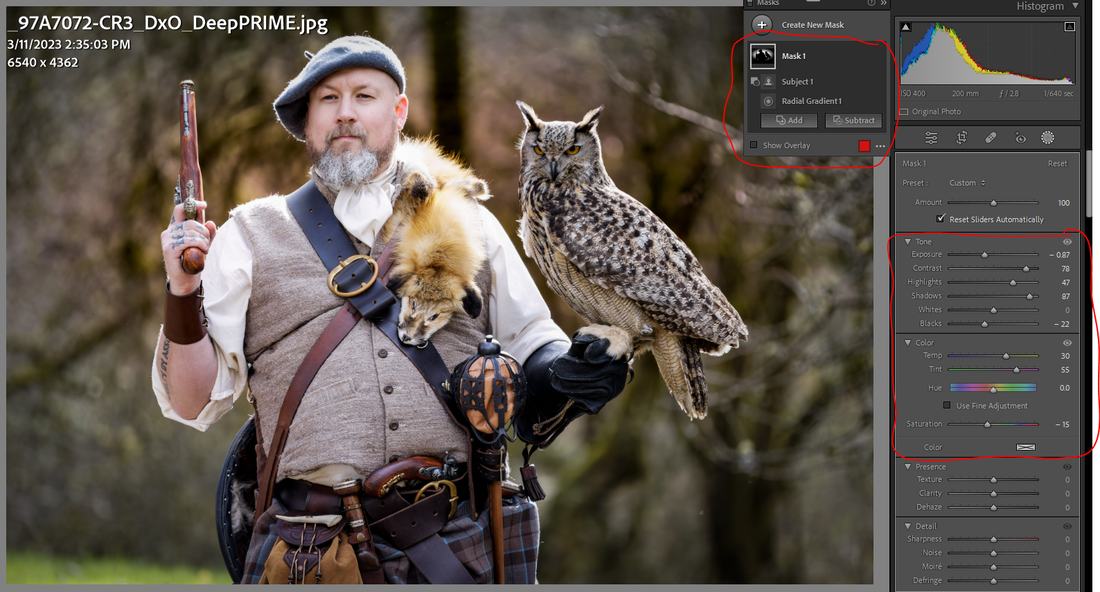
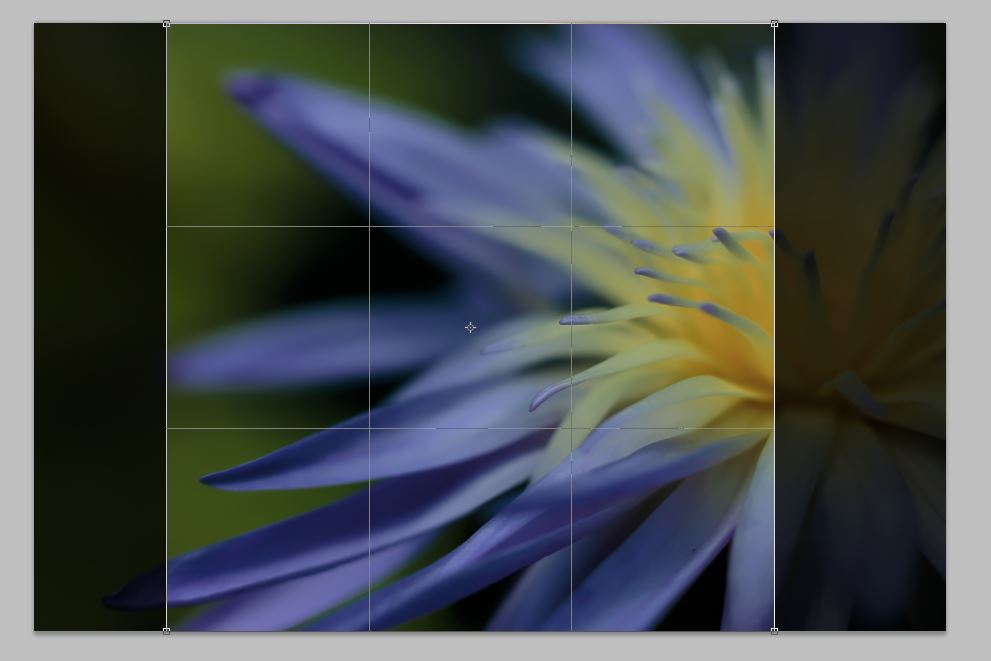
Select the area that you want to replace as in the image above. Then in Edit select Generative Fill. Do not click on Generate yet.
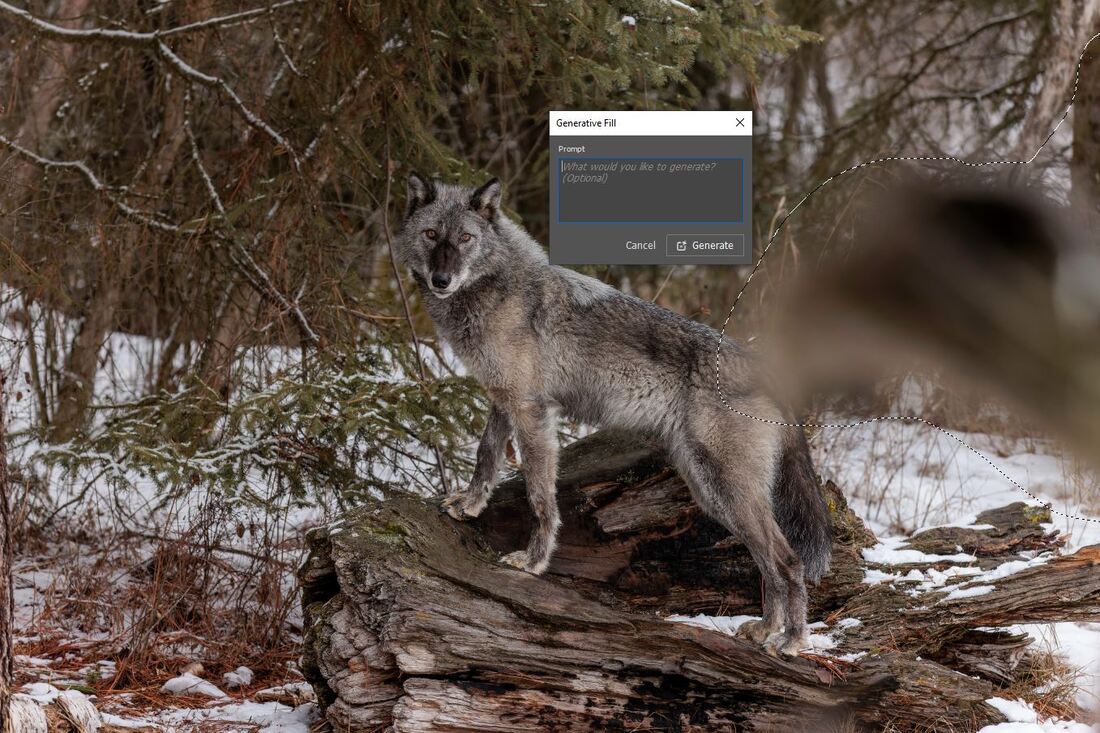
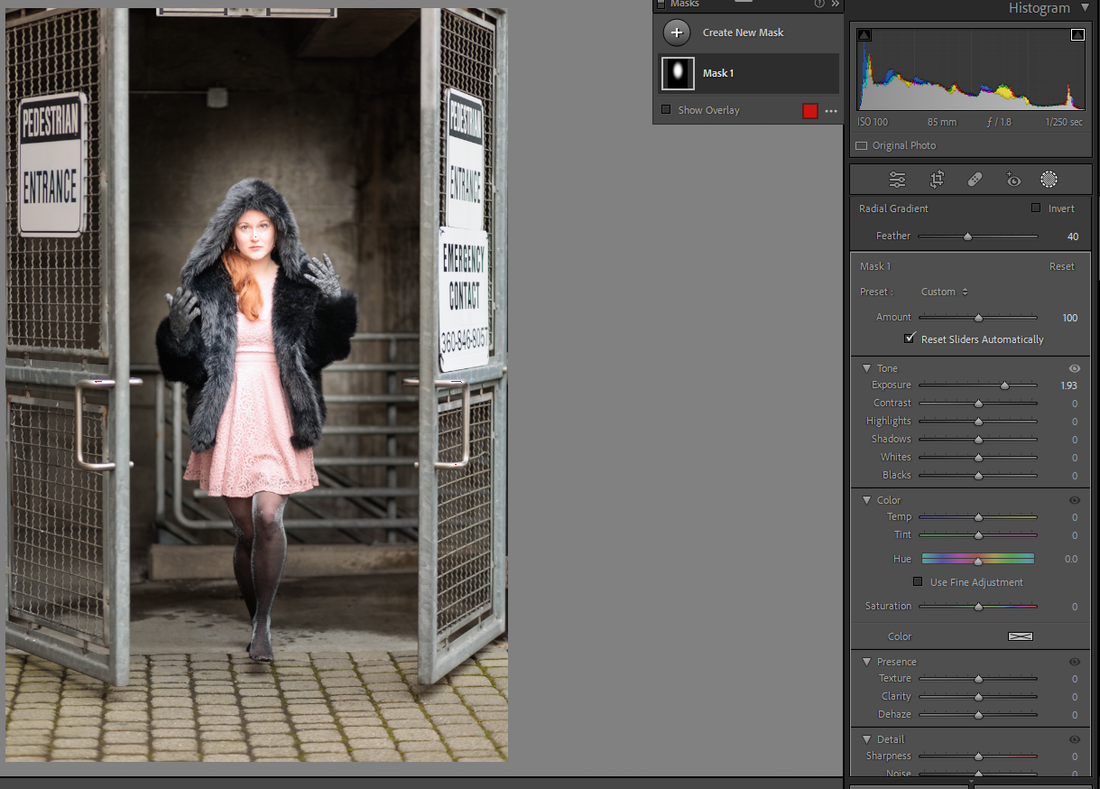
Instead of typing anything in the prompt box LEAVE IT BLANK. What Photoshop will do next is gather the information from all the surrounding pixels and give you 3 different options to fill the selection with.
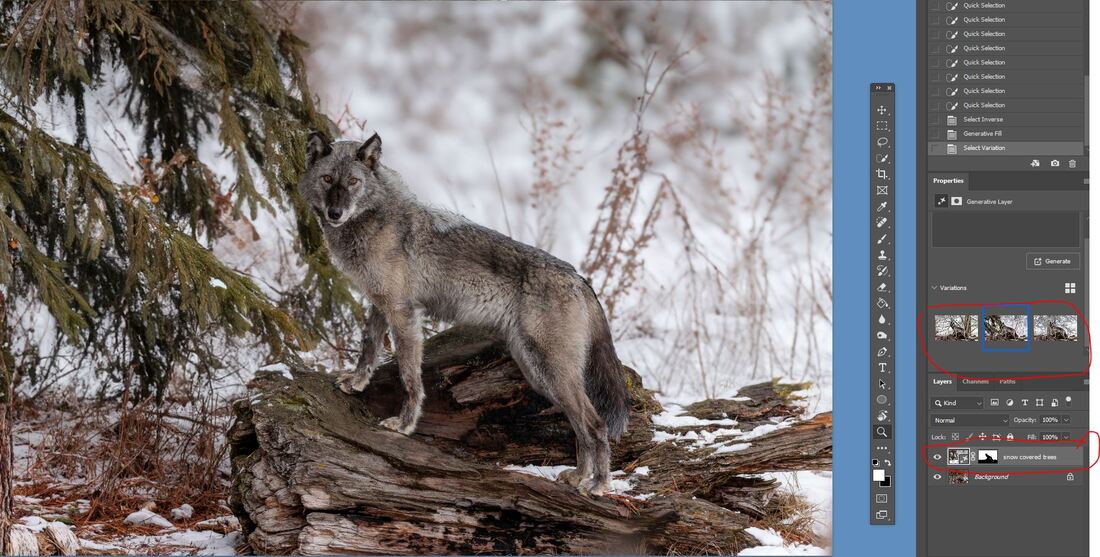
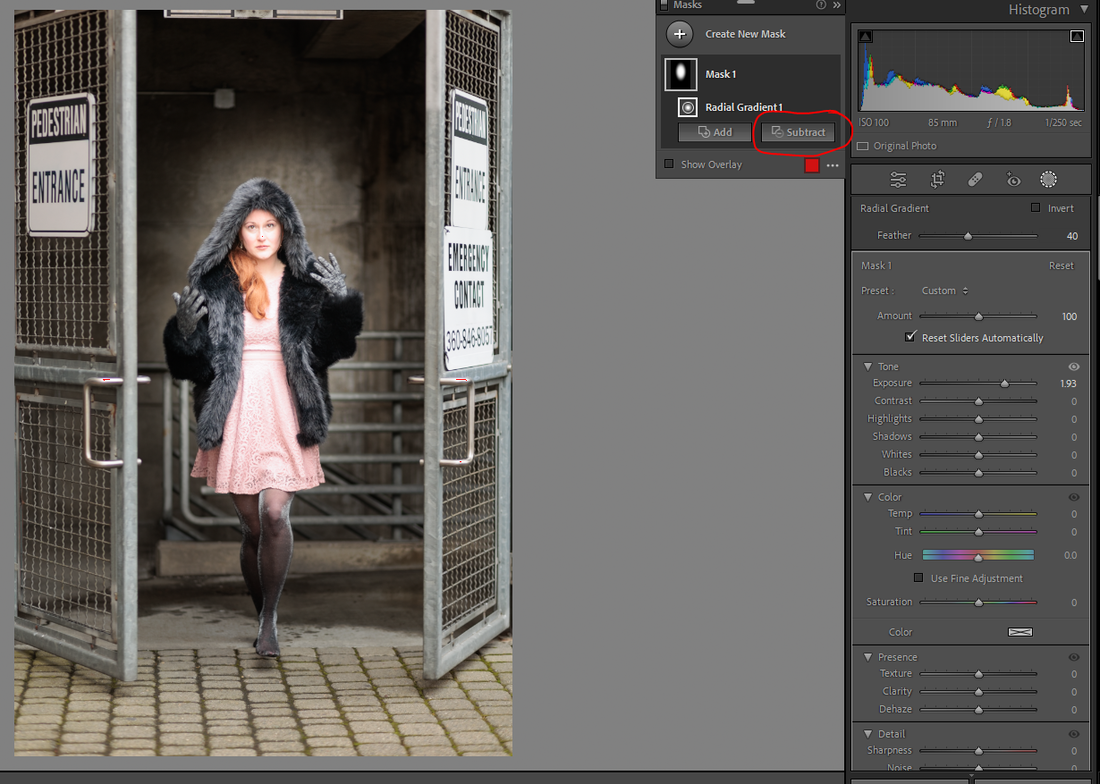
Click on Generate and you will receive a new layer with those options to pick from.
Click on Generate and you will receive a new layer with those options to pick from.
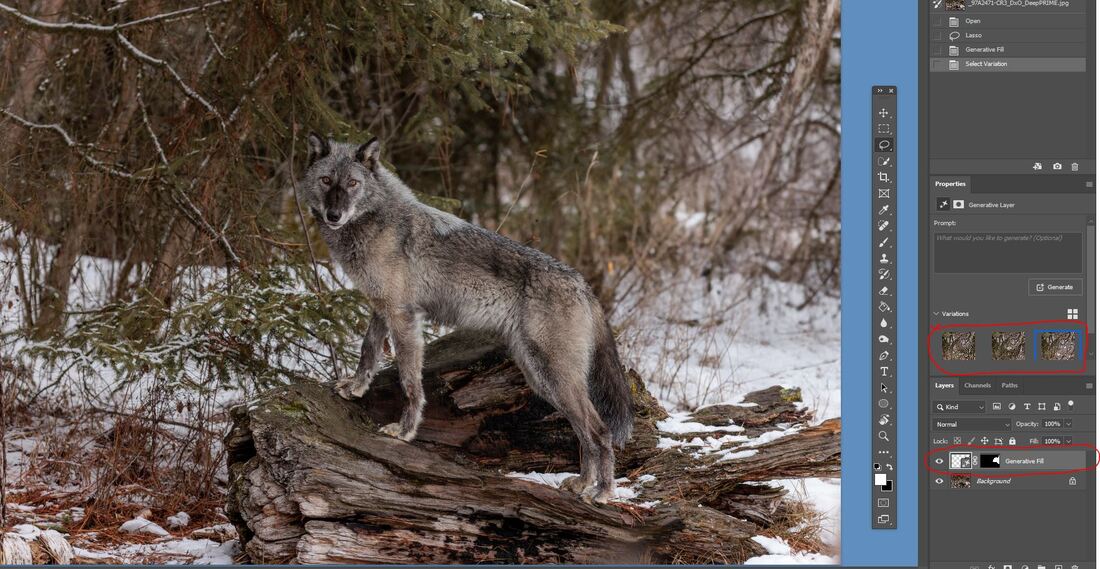
Then Click on each of the three variations to see which one you like. If you like none of them simply click on Generate box above the variations and Photoshop will give you 3 new variations.
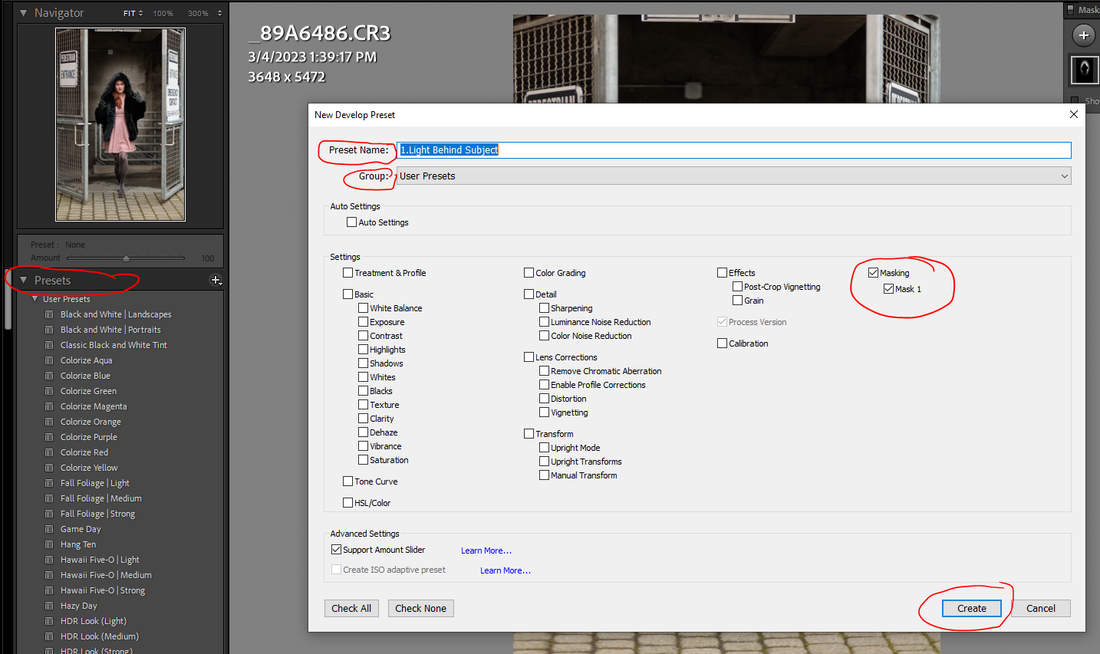
If you really want to go further and remove the entire background continue reading the steps below. After I flatten the layer I am going to now select all of the background and enter snow covered trees in the prompt. Then click on Generate.
If you really want to go further and remove the entire background continue reading the steps below. After I flatten the layer I am going to now select all of the background and enter snow covered trees in the prompt. Then click on Generate.
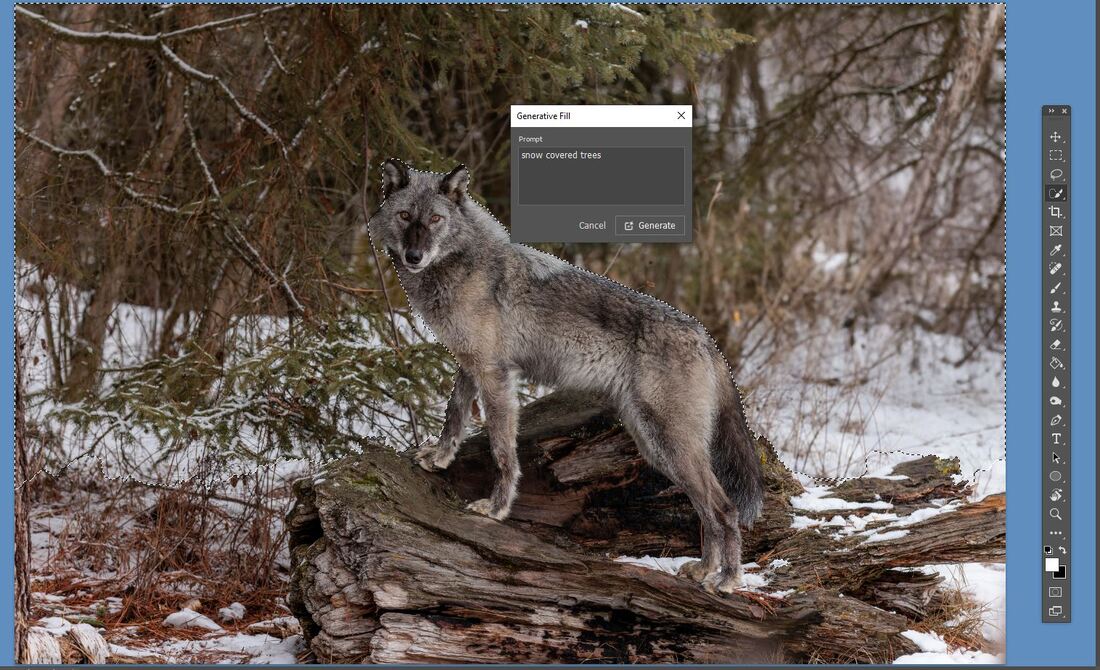
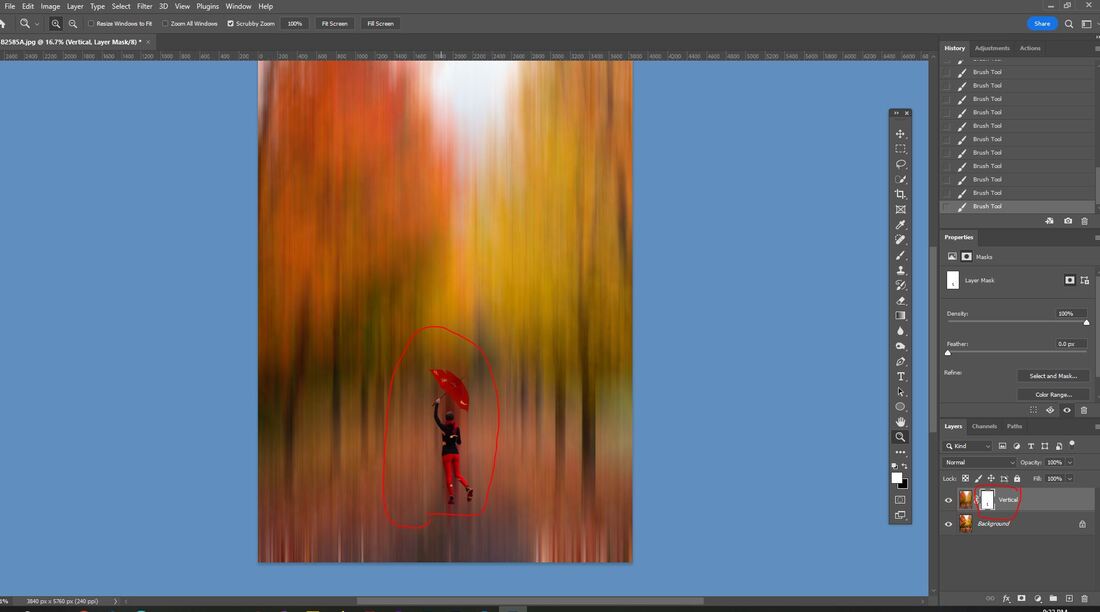
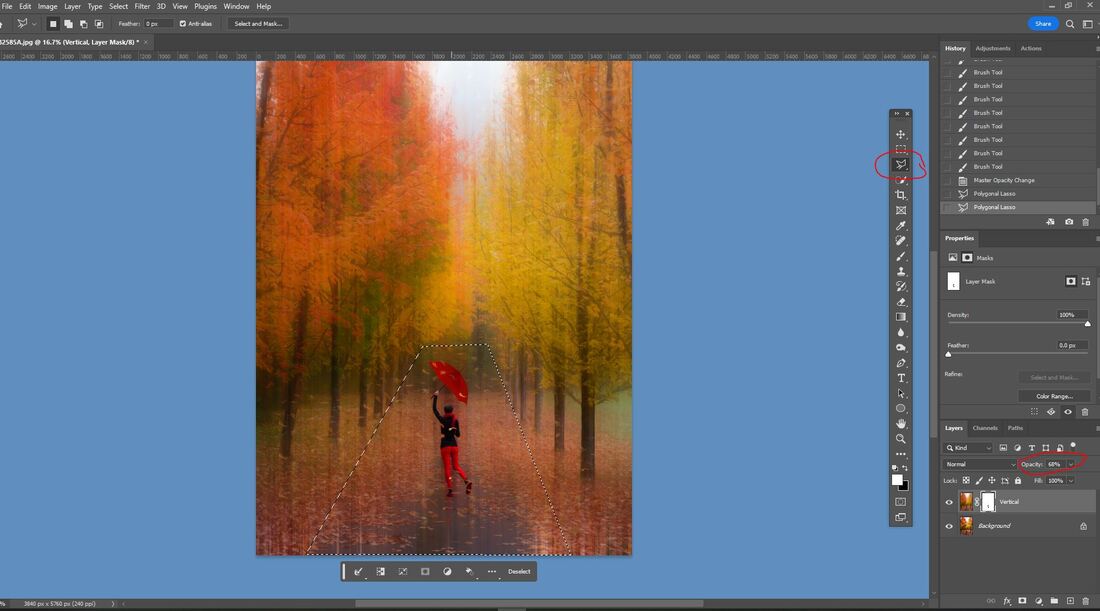
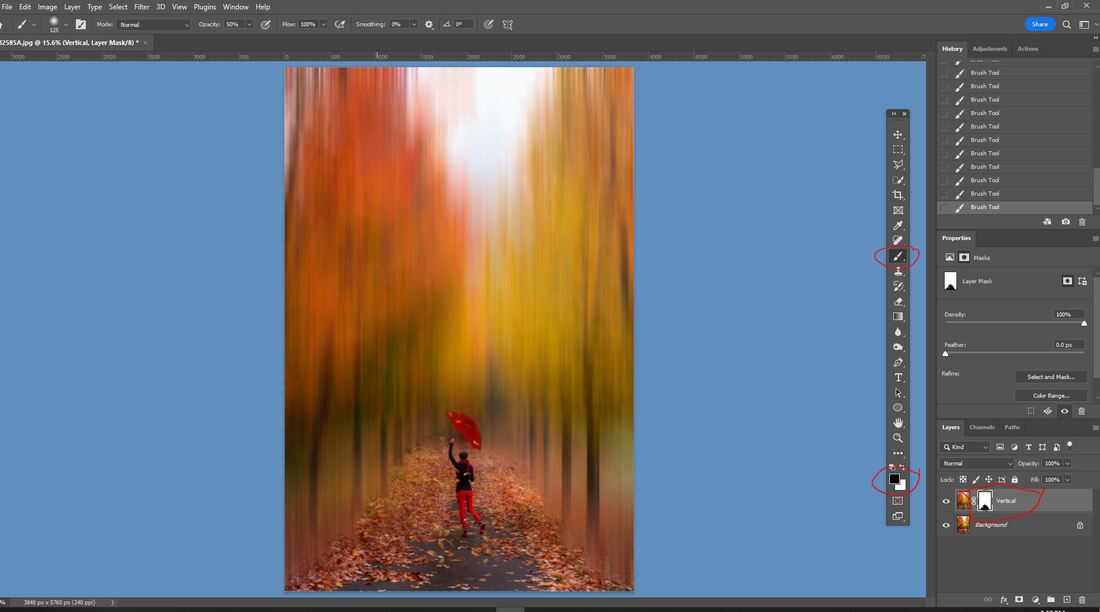
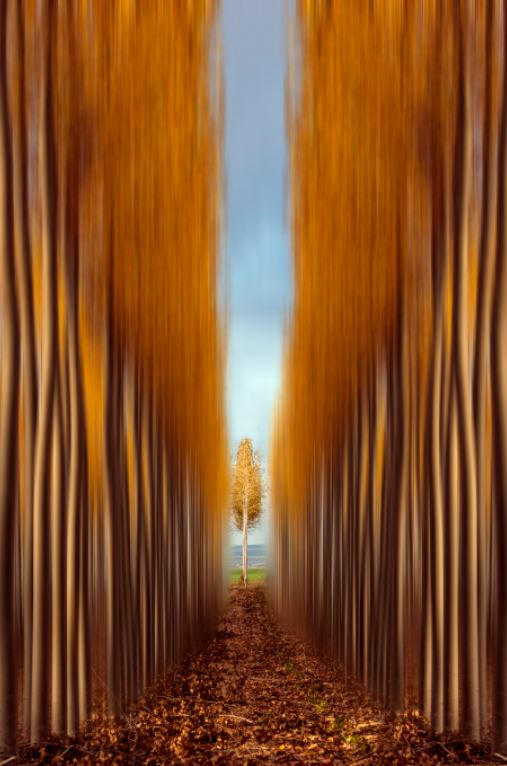
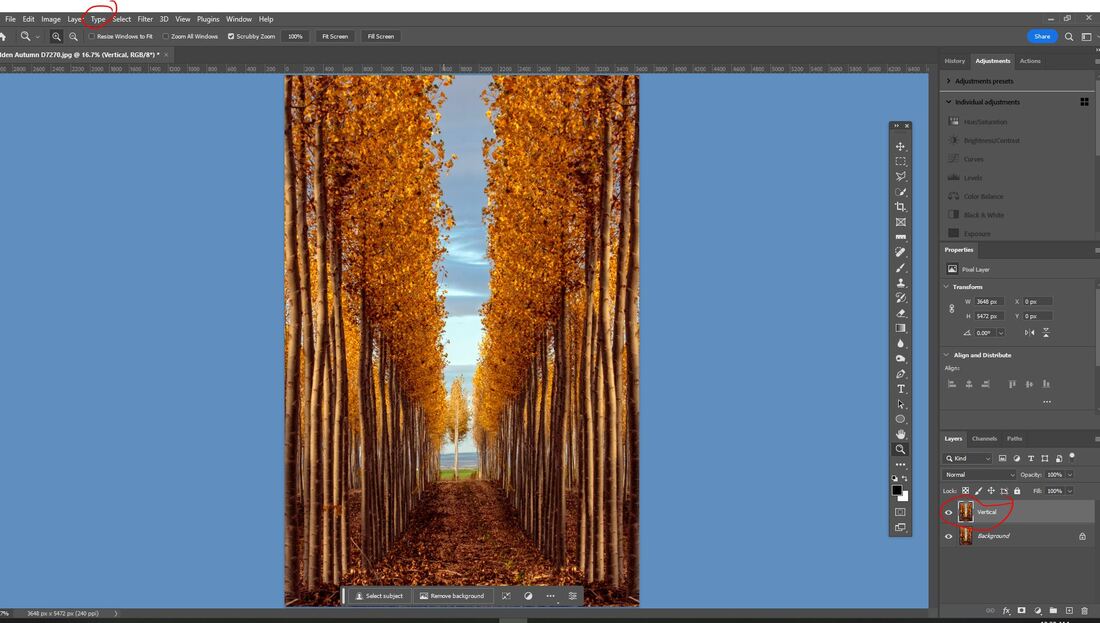
As the image below is just an example of what can be done I made a very sloppy selection. Spending some more time on the selection and then using the mask in the layer can improve on the process immensely. But I wanted to show you what can be done beyond removing unwanted objects in an image using the existing pixels in the original image.


 RSS Feed