Pretty simple, huh?
|
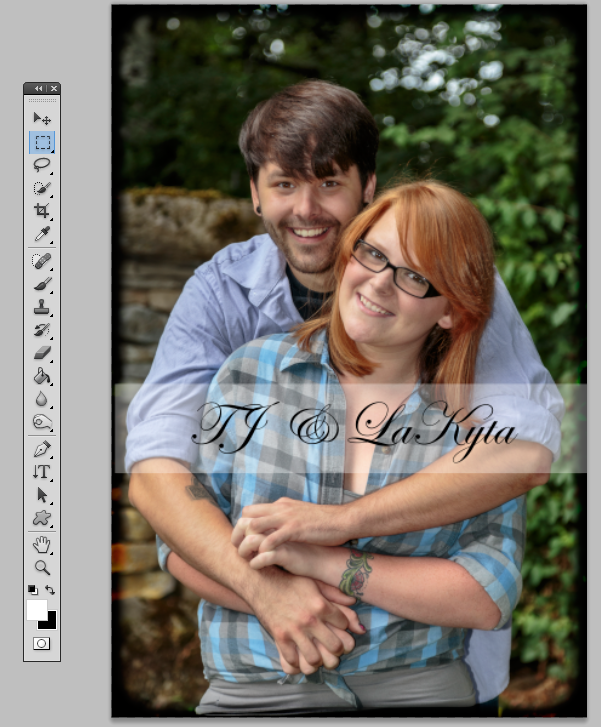
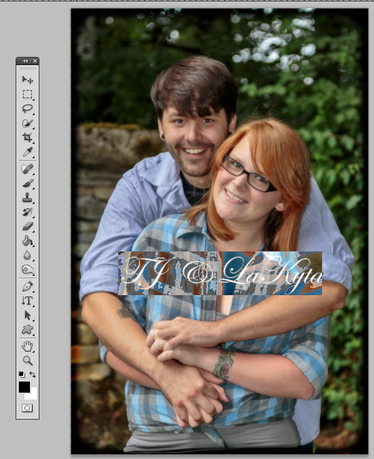
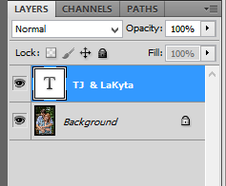
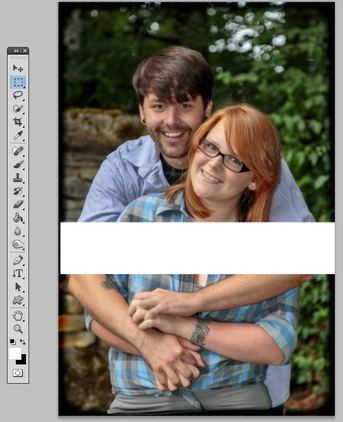
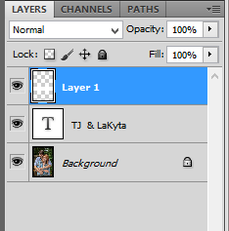
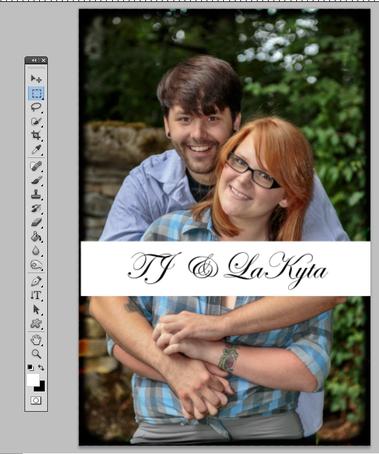
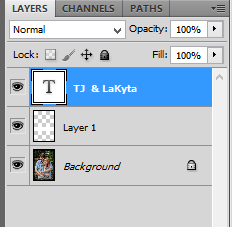
These are instructions are primarily for a PC but I did include the options for those MAC users. Using the Text Tool and using Edwardian Script add the text to your image. You can use any text or color you wish and once you have the text added use the Move tool to place it where you want. Now create a new blank layer either from the Layers drop down or from the Layers Pallet by selecting the Create Layer Icon. Then using the Rectangular Marquee Tool click and drag out a thin wide rectangle from side to side on the image over the top of the text. Press the letter D, then X to set your Foreground color to white and then press Alt-Back-Space (MAC: Option-Delete) to fill the selection with white. Press Ctrl-D (MAC: Command D) to Deselect. The text is not visible until you drag the Blank Layer with the white bar below the Text Layer. Then the text will be visible because it is above the white layer. Your layers will now look like this below, lower the opacity of Layer 1 to your liking and you will have a finished product like the image at the top of this tutorial.
Pretty simple, huh?
0 Comments
|
Our Flickr PhotosAuthorName: Archives
July 2024
Categories
All
|
 RSS Feed