wesdotphotography.com
visit us:
  • Home
  • Autos and Vehicles
  • Nature and Animals
    • Animals >
      • Animals
      • Canines
      • Cats
    • Birds >
      • Birds
      • Eagles and Osprey
      • Hummingbirds
      • Owls
      • Tall Birds
    • Equine >
      • Everything Horses
      • Lipizzans
      • Wild Horses
    • Flora
  • Pacific NW
    • Japanese Gardens
    • Mountains
    • Night Skies
    • Ocean
    • Pacific Northwest
    • Portland
    • Waterfalls and Streams
  • People
  • Travels
    • Alaska
    • California
    • Desert Southwest
    • France
    • Northeast
    • Rocky Mountain States
    • Yellowstone and Tetons
  • Unique Art
    • Abstracts
    • Triptychs
  • About Us
    • Blog
    • Forum
    • Contact Us
    • Legal

HOW TO CREATE AN IMAGE USING A TWIRL EFFECT

11/10/2018

0 Comments

 
Picture
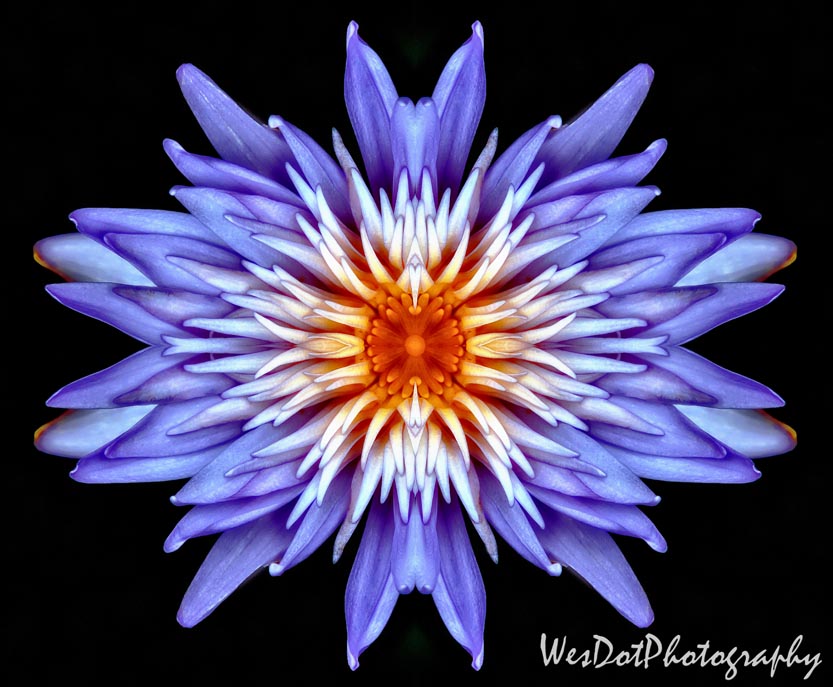
Start with any image.  In this tutorial I have chosen the image below.
Picture
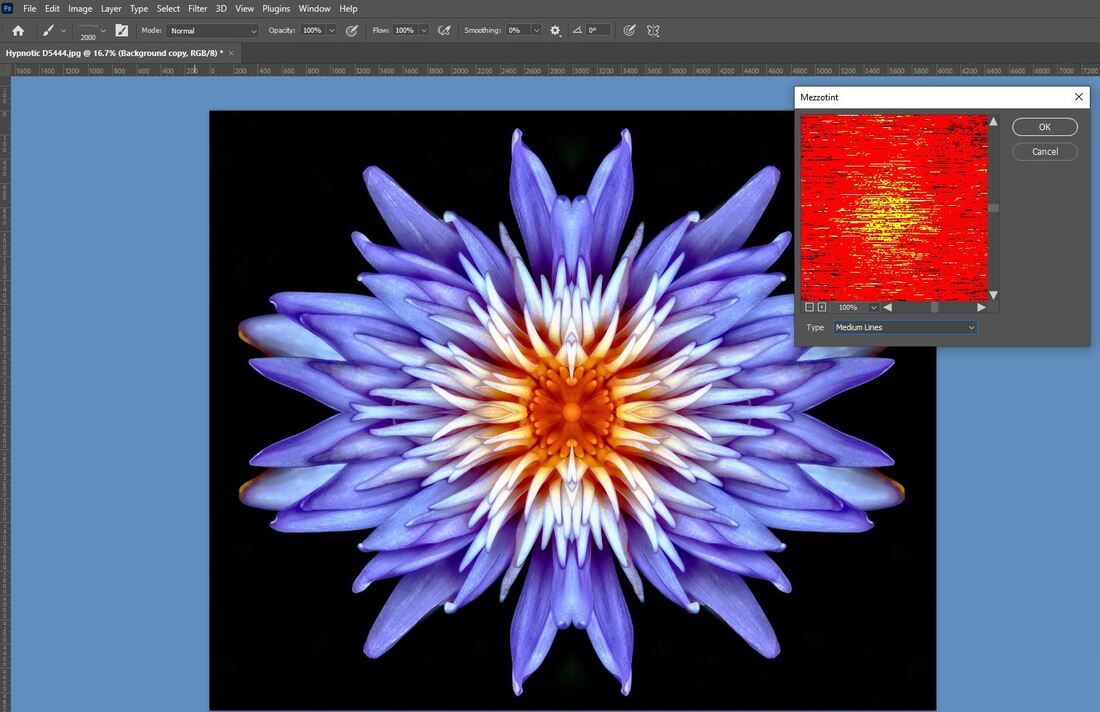
Step 1:  Using Photoshop go to Filter> Pixelate> Mezzotint> Medium Lines.  After you select Filter> Pixelate> Mezzotint you will see a popup box.  This is what you will see after selecting Medium Lines.  Click on the OK button.
Picture
Step 2:  Again select Filter> Blur> Radial Blur.  From the popup, slide the slider to 100, blur method to Zoom and Zoom Quality to Best.  This is what the screen will look like.  Click on the OK button.
Picture
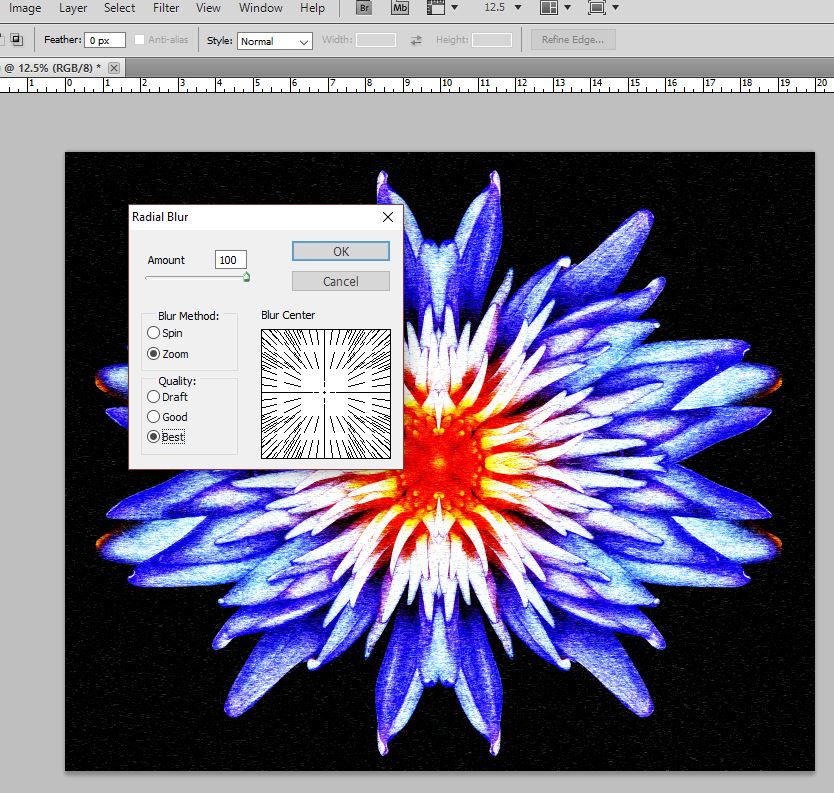
Your image will look like this below which is pretty neat all on it's own.
Picture
Step 3:  Repeat Step 2 anywhere from between another 3 to 5 times.  Then create a duplicate layer.
Picture
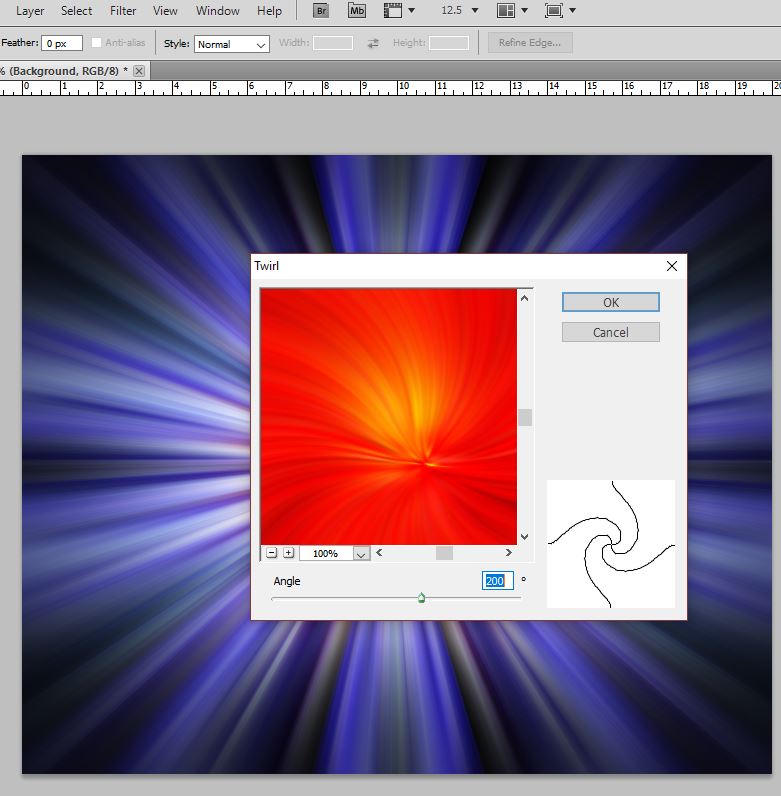
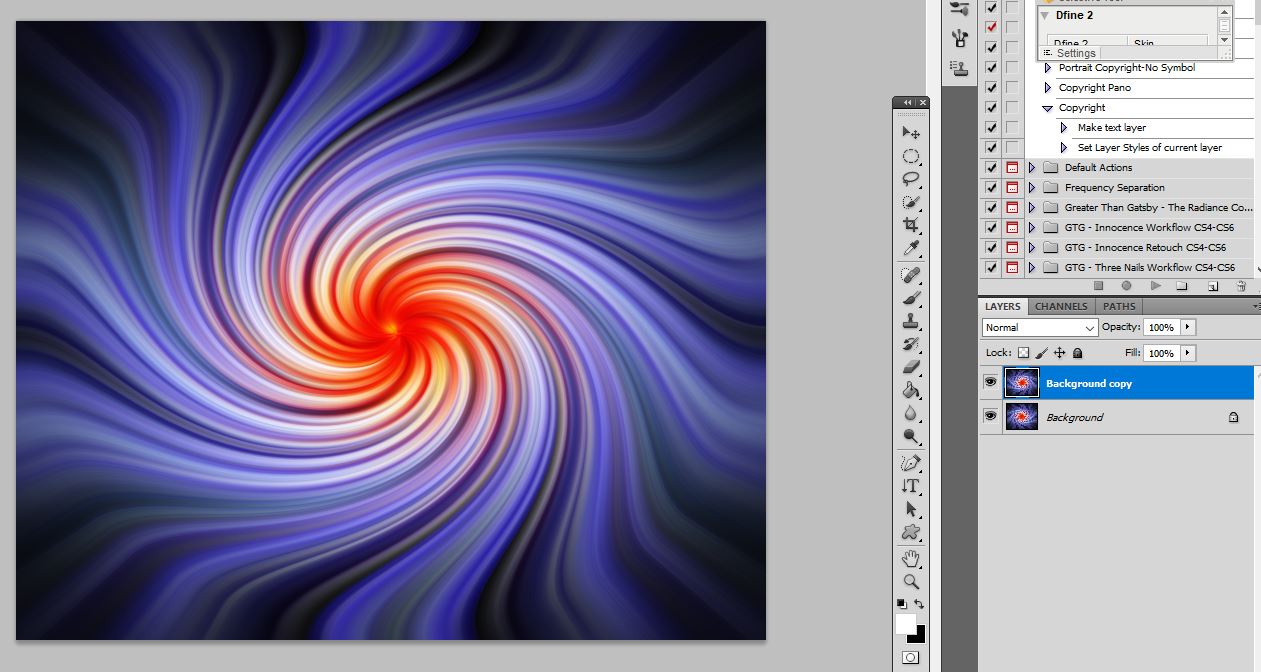
Step 4:  Select the Background layer to make it active.  Then go to Filter> Distort> Twirl.  From the popup drag the Angle Slider to 200 or whatever you would like.  In my example I'll use 200.  Then click on the OK button. 
It will appear that nothing has happened on your screen because the Background copy layer has not been altered yet.  This is okay as we will make changes to that layer in the next step.
Picture
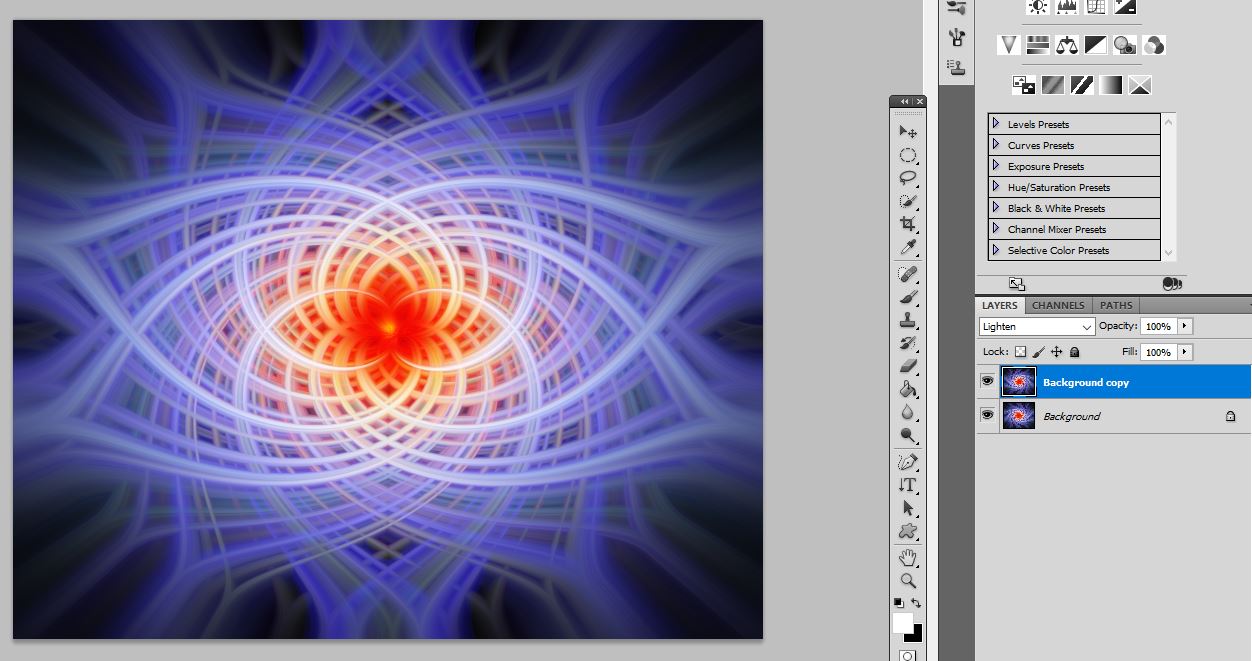
Step 5:  Click on the Background copy layer to make that active.  Then go to Filter> Distort> Twirl.  From the popup drag the Angle Slider to -200 or whatever you would like.  In my example I'll use -200.  Then click on the OK button.
Picture
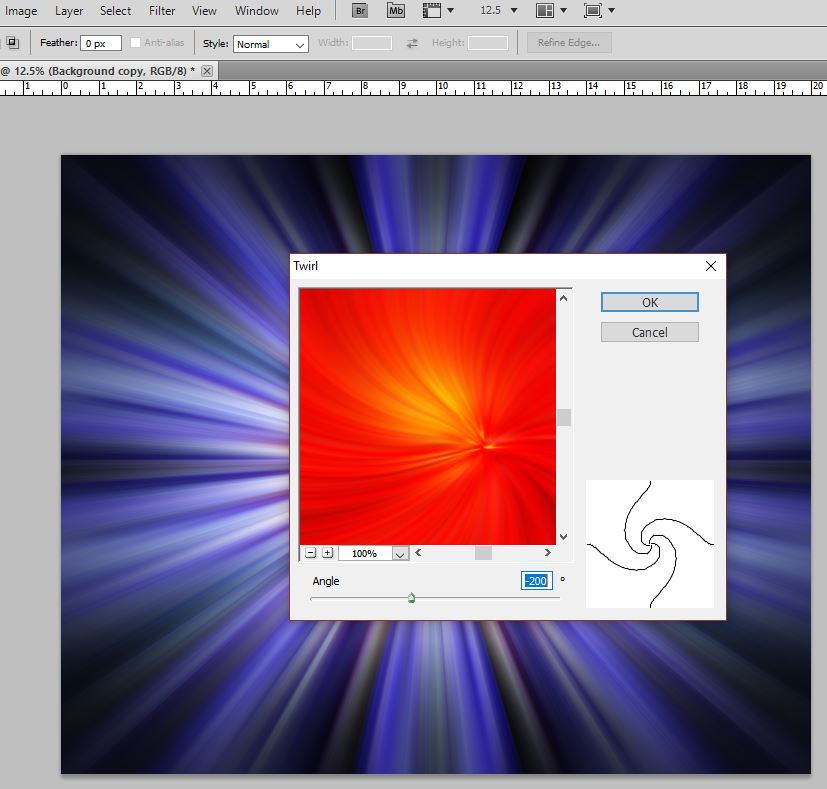
Below is what this step will create.  Again it's pretty cool but we aren't done yet.
Picture
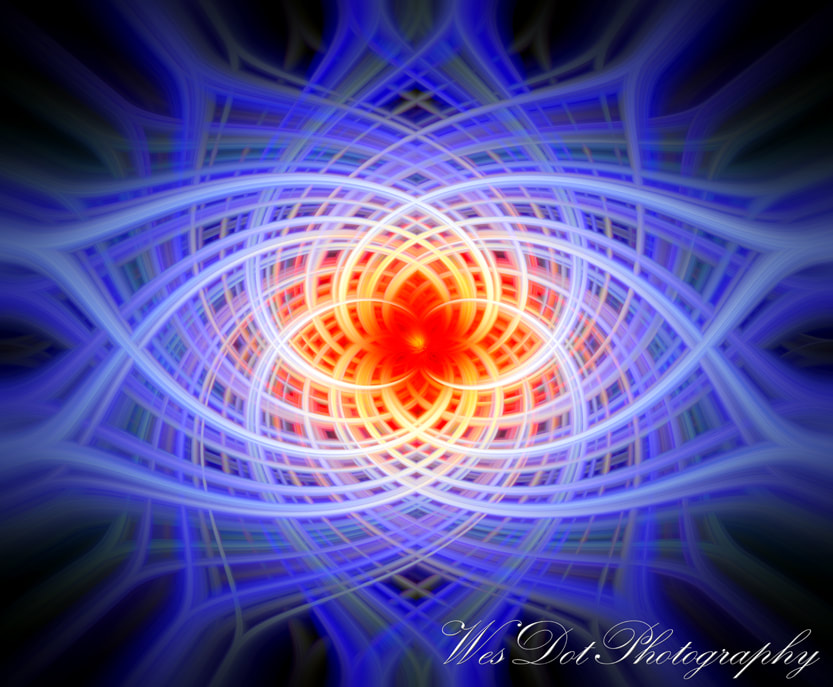
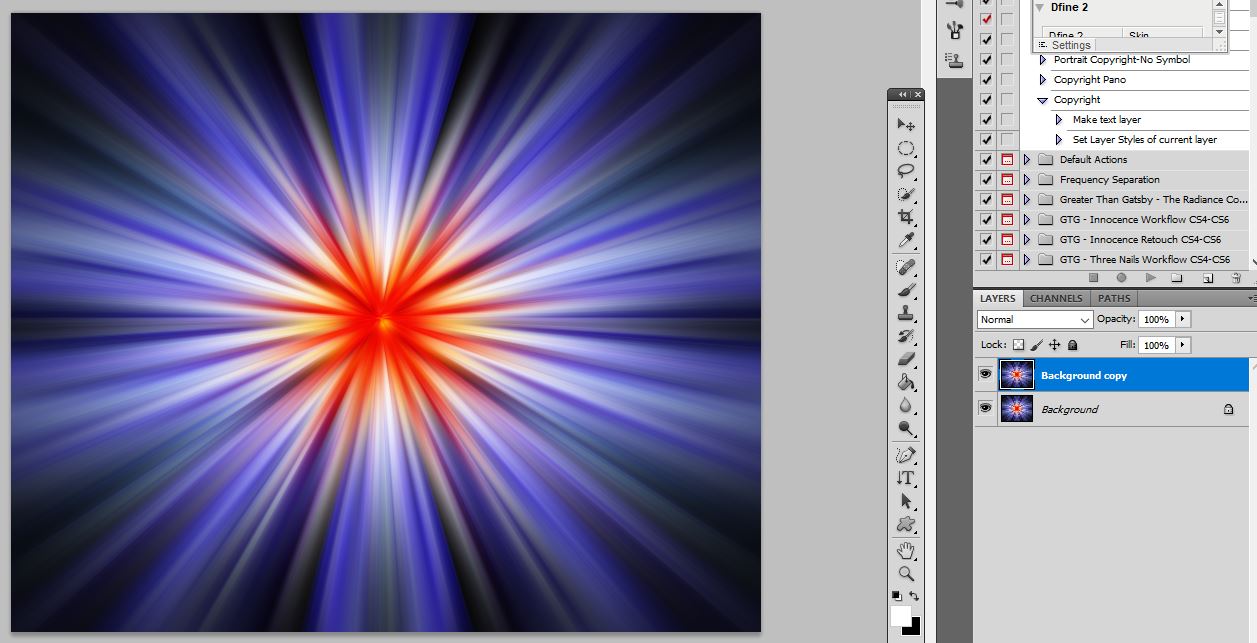
Step 6:  Now to make the twirl appear change the Blend Mode on the Background copy to Lighten and the twirl will appear.
Picture
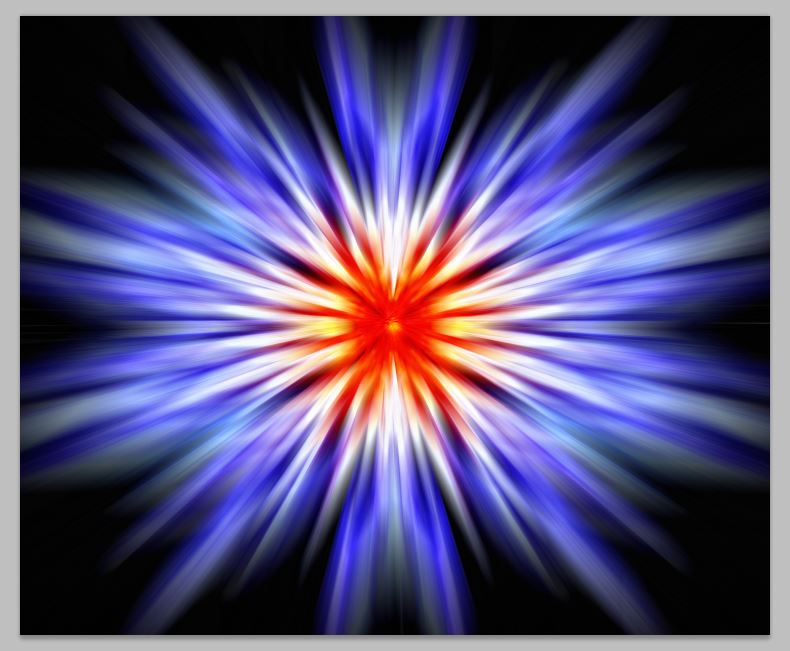
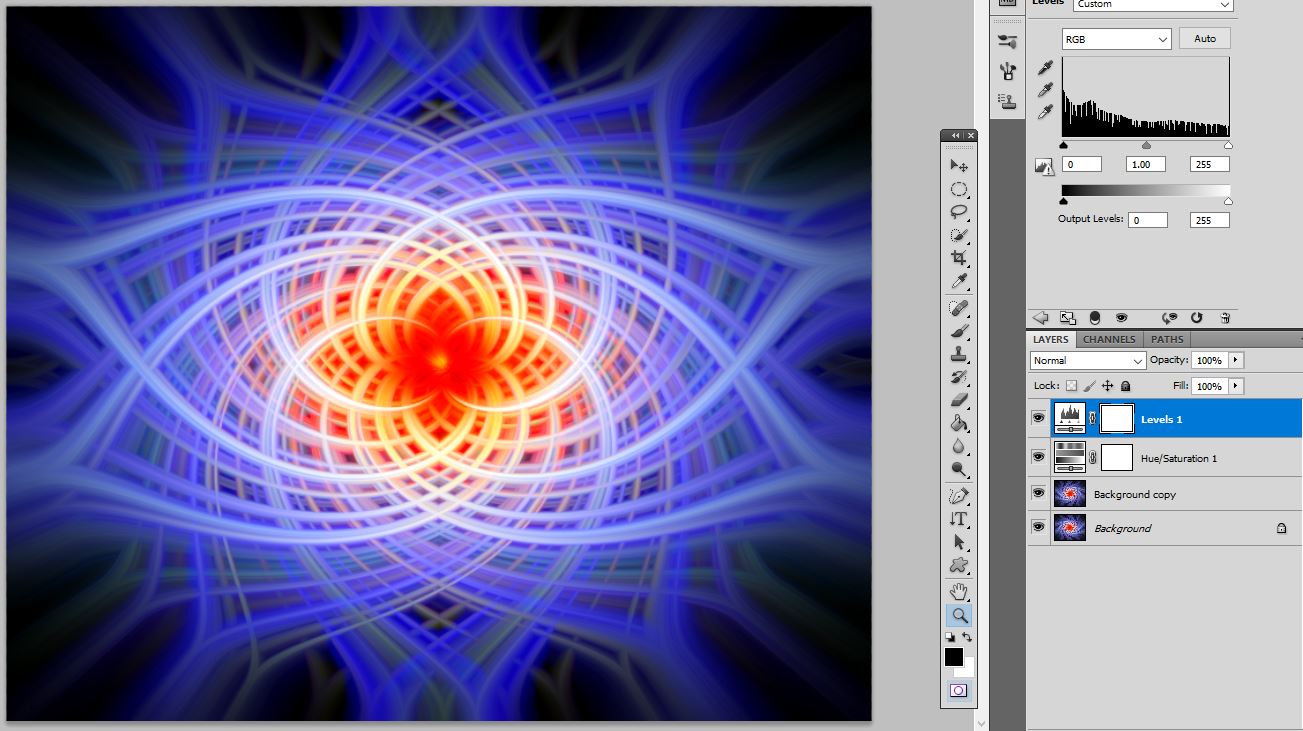
You can then add any adjustment layers to make the colors more vibrant, etc.  Here is the end result after increasing the Hues and Saturation on the Blue, Cyan and Reds in an Adjustment Layer.  I also selected the Black and White Points in a Levels Adjustment Layer.
Picture
0 Comments

    Our Flickr Photos

    Author

    Name:
    Wes & Dotty Weber

    Occupation:
    Photographers at Heart

    Favorite Camera:
    Canon  5DMarkIII and Canon 7DMarkII

    Favorite Subjects:
    Absolutely everything.

    Favorite Vacation Spot:
    Everywhere we’ve been has it’s own special beauty and some places like Yellowstone National Park and the Desert Southwest can be unlike anywhere else.  But to name a favorite is hard as we’ve not seen everything, yet.  

    Personal Motto:
    "Everywhere you look is a great image if you look closely”


    Archives

    November 2018
    January 2018
    November 2016
    December 2015
    July 2015
    January 2015
    February 2014
    November 2013
    July 2013
    June 2013
    May 2013
    February 2013
    January 2013
    November 2012
    September 2012
    August 2012
    March 2012
    February 2012
    December 2011
    October 2011

    RSS Feed

    Categories

    All
    Canvas
    Commerce
    Domain
    Email
    Fine Art America
    Framed
    Gallery Wraps
    Greeting Cards
    New
    Outage
    Prints
    Registrar
    Shopping
    Website
    Weekly
    Wesdotphotography

Copyright © Since 2000, WesDotPhotography All Rights Reserved.