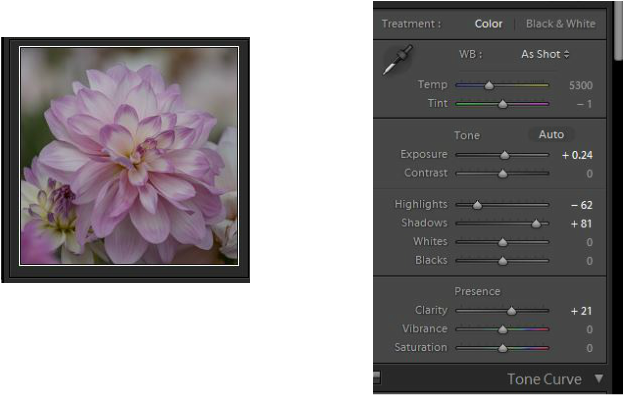
1) Select a RAW image of a flower with varying colors from light to vivid. I had chosen this image of a lavender and white dahlia. The original unedited images is below. And here are the initial settings in Lightroom.
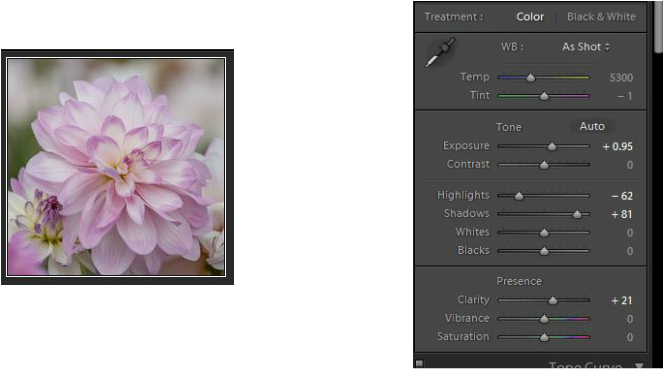
2) Then using the Exposure Slider in Lightroom Develop slide it to the right to lighten the image. Then export this image to Photoshop.
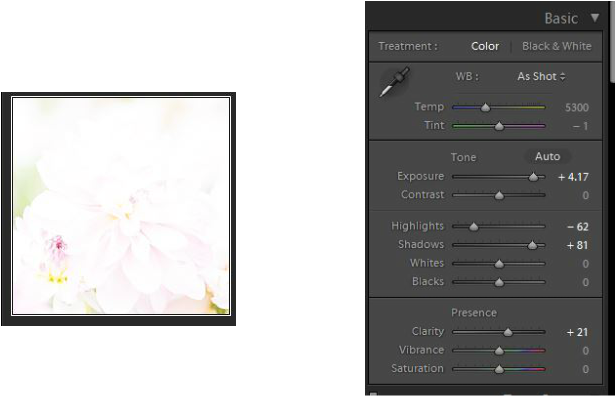
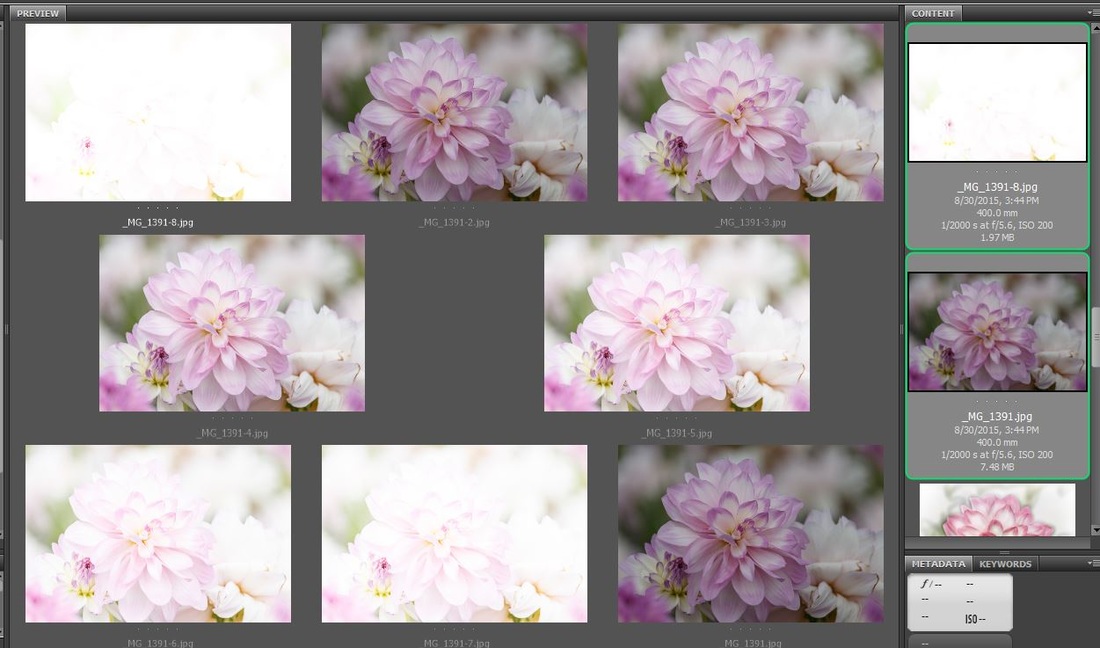
3) Continue using the step (#2) above increasing the exposure in somewhat equal increments until you have at least 5 to 10 images exported to Adobe Bridge. The last image should be close to white.
4) In Adobe Bridge you should now have all of these images that you exported from Lightroom. Select all of these images by clicking on the 1st image. While holding the shift button scroll to the last image and click on it (this is the method for a PC, sorry....I'm not sure what the method is for a MAC).
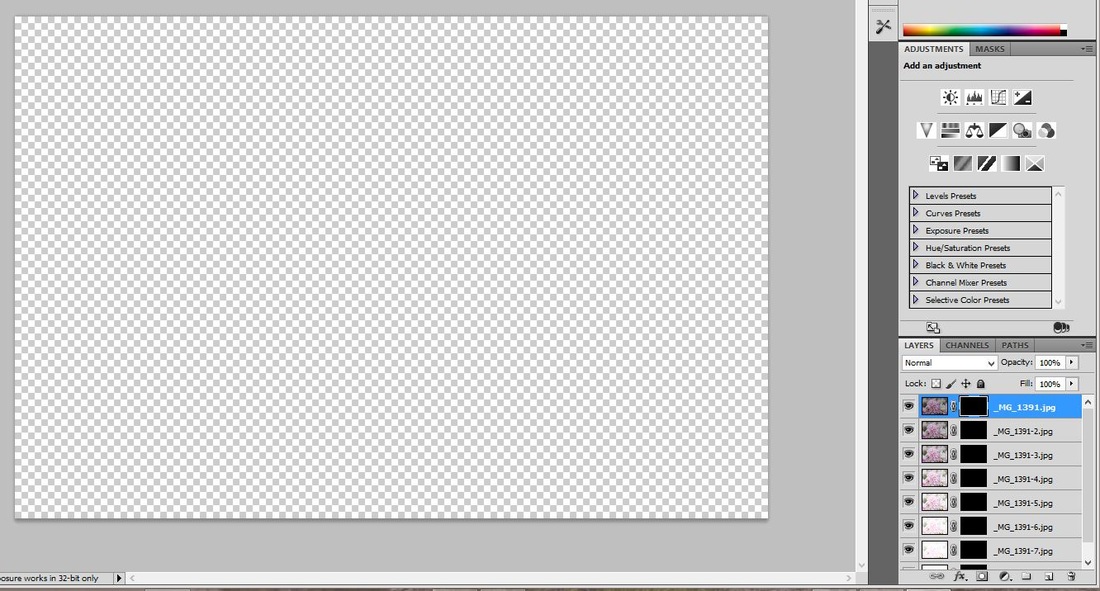
5) Click on Tools, which will open up a drop down box. Click on Photoshop which will then open up a fly out box to the right. Click on Load files into Photoshop Layers. This will open all of the images as layers in Photoshop. Once there you will need to make sure the lightest image is at the bottom and the order will be incremental to the top with the darkest.- 6) Add a mask to each layer. On each mask on a PC do a Ctrl I to invert the white mask to a black mask. Once there is a black mask on each layer your image will become transparent and your Photoshop screen will look like this below.
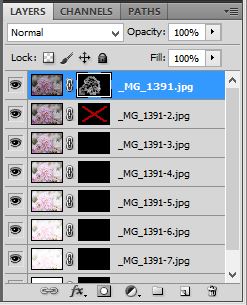
- 7) Starting with the 2nd layer from the top right click on the layer mask and disable it. This will make the image reappear because the mask is no longer hiding the image. Using a soft small white brush at an opacity of about 30 begin brushing around the vibrant colors of the flower and any areas you want to expose. Your layer pallet will look like this below.
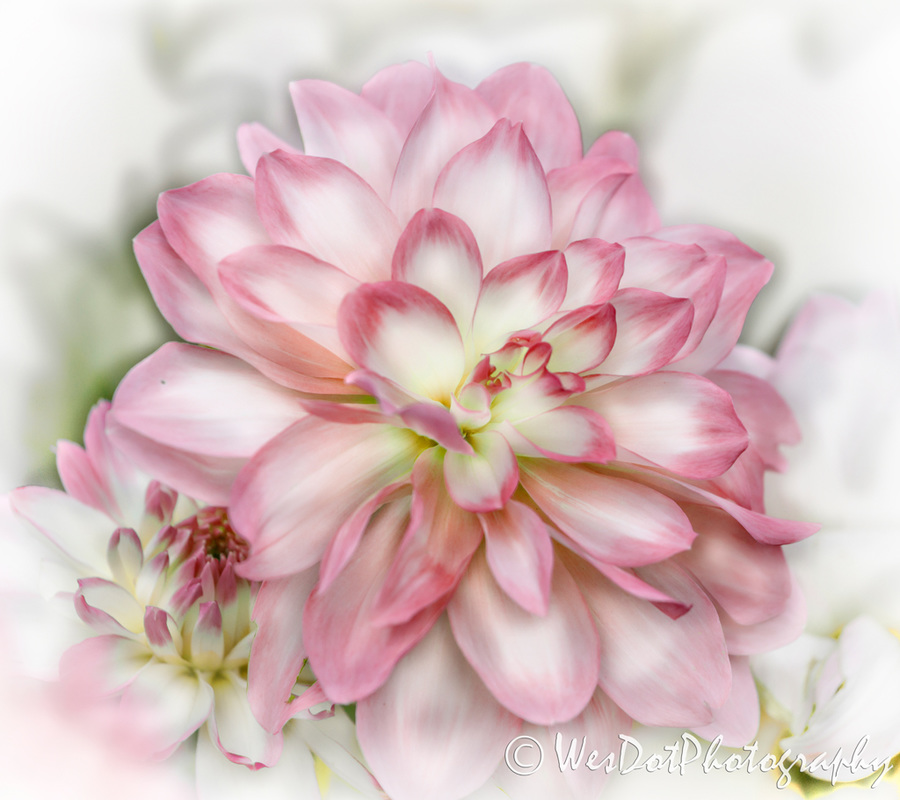
9) Flatten the layers and make any additional final edits. I used the plugin OnOne to add a bit of clarity and white vignette that further whiten the edges. Plus I played with the colors a bit in Photoshop CS5 using the Hues slider in the layer adjustment Hues and Saturation.
Hope this helps everyone and would love to see your results.
 RSS Feed