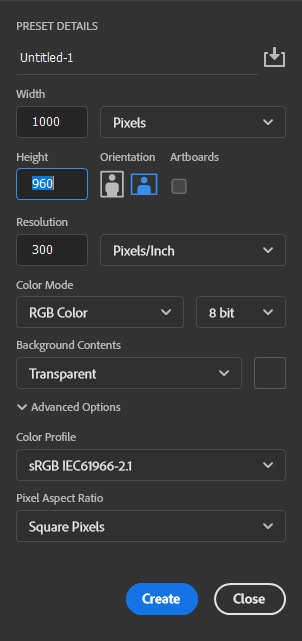
Step 1. Click File>New to create a new image in Photoshop. Make sure you use a transparent background!
1000 pixels wide
960 pixels high
300 pixels/inch resolution
1000 pixels wide
960 pixels high
300 pixels/inch resolution
Step 2. Use the text tool (on the toolbar) to create your copyright text. I found a free font called North Wave on the internet that I liked.
>I use a font size of 30 pt to make my text all fit and be as large as possible. You may need a different font size depending on how large your copyright is.
>On a Windows PC, the code for the copyright symbol is generated by holding down the ALT key and typing 0169 from the keypad.
>On a Mac, you can create a copyright symbol by simply holding down the Option key and pressing G. That’s it.
>After you create your copyright symbol type in the rest of your copyright information.
Step 3. Use the Rectangle Tool from the tool bar to select the area around the text.
>Then use Image>Crop
>Edit > Define Brush Preset to create the brush and also you will name it. I call mine Copyright Stamp. The brush will now appear at the bottom of your brush table and is ready to use.
Step 4. To use the brush:
>Select the copyright brush from the palette.
>Adjust the size and/or color if you need to and and click once on the image where you want to stamp to appear. If your hand is steady enough you can click more times will make the text darker.
>Adjust the opacity to your liking. 30-50% is a good range depending on the subject.
IMPORTANT INFORMATION
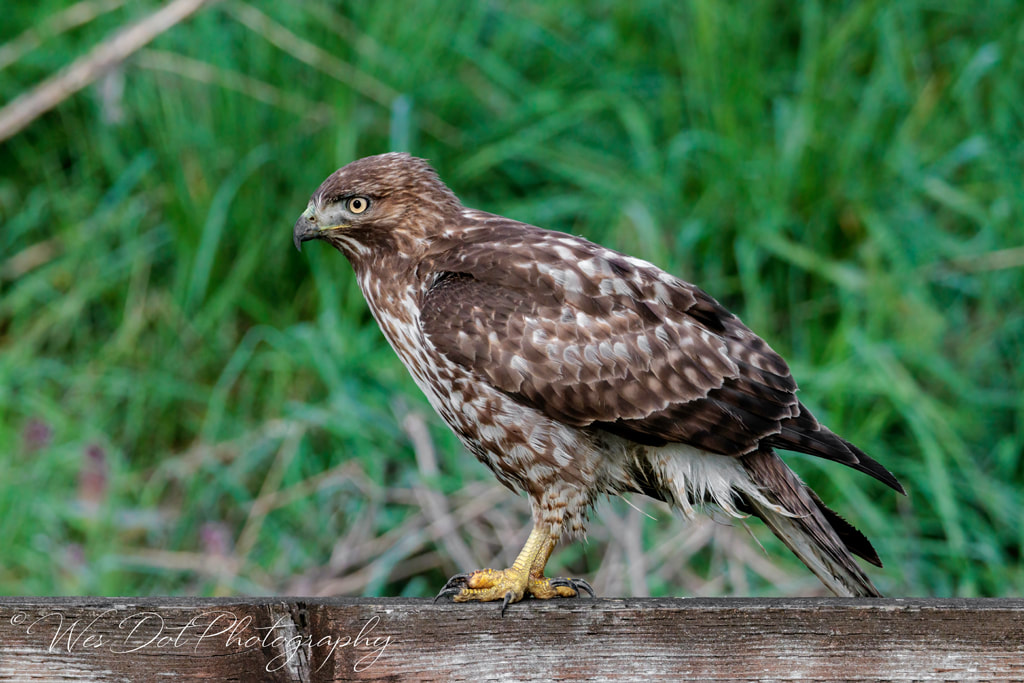
At this point if you are using a copyright stamp on a full resolution image you can simply save this image.
I only use the copyright stamp on images I am going to resize for the internet where I use Script to resize. There is another post on how I do that. You NEVER want to copyright and resize an image and save it.
I only use the copyright stamp on images I am going to resize for the internet where I use Script to resize. There is another post on how I do that. You NEVER want to copyright and resize an image and save it.
 RSS Feed