
This is the Scripts screen that I use to copyright several portrait oriented images at once to post to social media. This screen is located under the File tab in Photoshop.
1) Open one or several images that are all of the same format. For this example we will open up several portrait images from Adobe Bridge. To open several completed JPEG images click on each image holding the Ctrl button down. This will select each image. Then either click enter or right click on one of the selected images and then select 'Open in Adobe Photoshop'. All images will appear in Photoshop with the active image in the preview area of your screen and all others in the tabs above the preview. That is if you have your Photoshop screen set up as I do.
See screen print below for an example of two images opened. You won't see both images on the screen but will know there are 2 open by the image titles on the top bar.
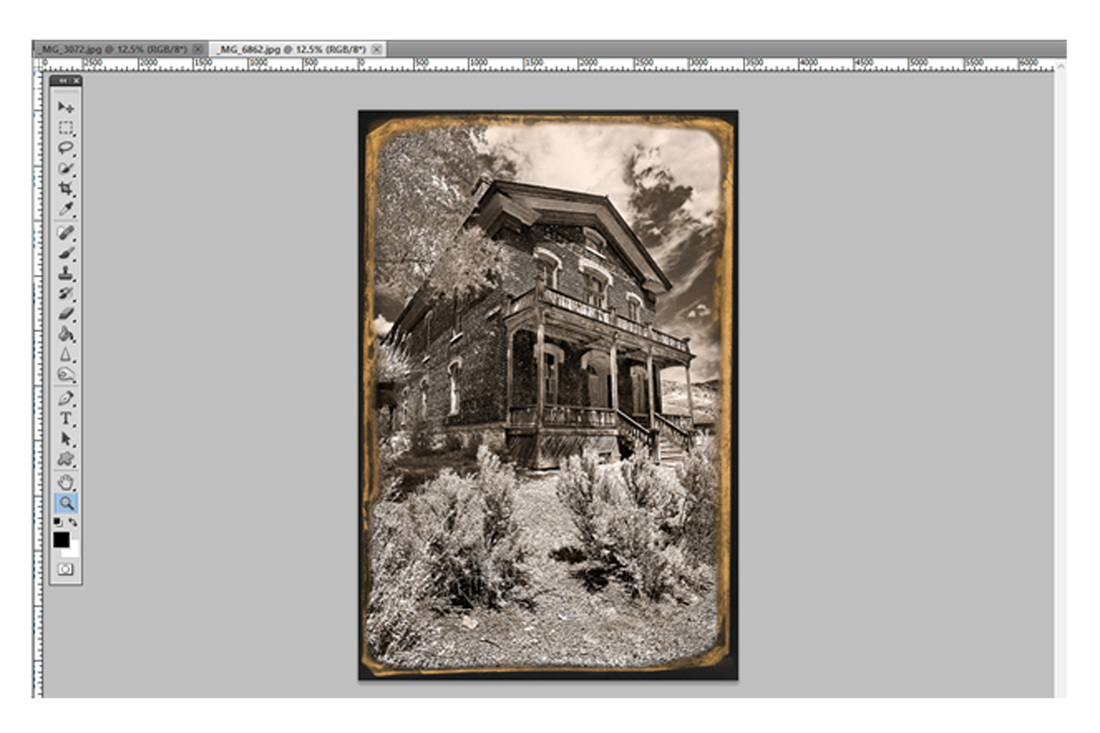
2) Using the Copyright brush tool you created in the prior Blog post on the image click where you wish it to be.
3) Click on each image by selecting the 'un-highlighted' image tab to make the next image active and run the 'Copyright Portrait' action. Do this for each portrait image you have opened in Photoshop.
4) When all images have the Copyright Symbols added and arranged to your liking you are ready to re-size the images and make them ready to add to Facebook, Twitter, Google+, your website or share online. Here are the steps:
5) Click on 'File' at the top left hand size of your screen. This will open the drop downs.
6) Click on 'Scripts' towards the bottom of the list which will bring out a 'flyout' box.
7) In this 'flyout' box, click on 'Images Processor'. The box that will appear next is the same as the screen print at the top of this blog post. The items to pay attention to are:
- 1) Select the images to process. I use the 'Use Open Images' button as I want the images I've just copyrighted to be processed.
- 2) Select location to save processed images. I use the 'Save in Same Location' button as I like the copyrighted images to be saved in the same location as the original. A new folder will be created in this folder called 'JPEG'.
- 3) File Type. This has several options.
- As I save these images as JPEGs I use that file type by checking the 'Save as JPEG' box,
- I set the quality at 12. If you are concerned about theft you can use a lower number. This will make the image size small enough that if someone does try to print from this it will be pixallated if printed in a large print.
- Check the 'Convert to Profile to sRGB' box. This is the best profile for the internet to keep colors from shifting.
- Check the 'Resize to Fit' box. This box is crucial to resizing the images to portrait, landscape or square format. For Portrait use W: 687 px H: 1024 px
- Use all the prior steps for Landscape images with the exception of changing to W: 1024 px H: 687 px
- The same for a square format image except change to W: 1024 px H: 1024 px
- 4) Preferences. You can add Copyright Info which would embed into the images by typing that into the box and click on the 'Include ICC Profile' box if you wish.
- Click on 'Run' at the upper right hand area of this box. Each image that has been selected will process and re-sized images will populate into the new created 'JPEG' folder within the original folder.
- CRUCIAL LAST STEP: All the images that you have just processed will remain in Photoshop. In 'File' select 'Close All'. As you close each file make sure you do not 'save'. You do not want to have your originals stamped and re-sized.
 RSS Feed