wesdotphotography.com
visit us:
  • Home
  • Autos and Vehicles
  • Nature and Animals
    • Animals >
      • Animals
      • Canines
      • Cats
    • Birds >
      • Birds
      • Eagles and Osprey
      • Hummingbirds
      • Owls
      • Tall Birds
    • Equine >
      • Everything Horses
      • Lipizzans
      • Wild Horses
    • Flora
  • Pacific NW
    • Japanese Gardens
    • Mountains
    • Night Skies
    • Ocean
    • Pacific Northwest
    • Portland
    • Waterfalls and Streams
  • People
  • Travels
    • Alaska
    • California
    • Desert Southwest
    • France
    • Northeast
    • Rocky Mountain States
    • Yellowstone and Tetons
  • Unique Art
    • Abstracts
    • Triptychs
  • About Us
    • Blog
    • Forum
    • Contact Us
    • Legal

How to Apply a Digital Orton Effect to an Image Using Photoshop CS5

3/12/2012

1 Comment

 
Picture
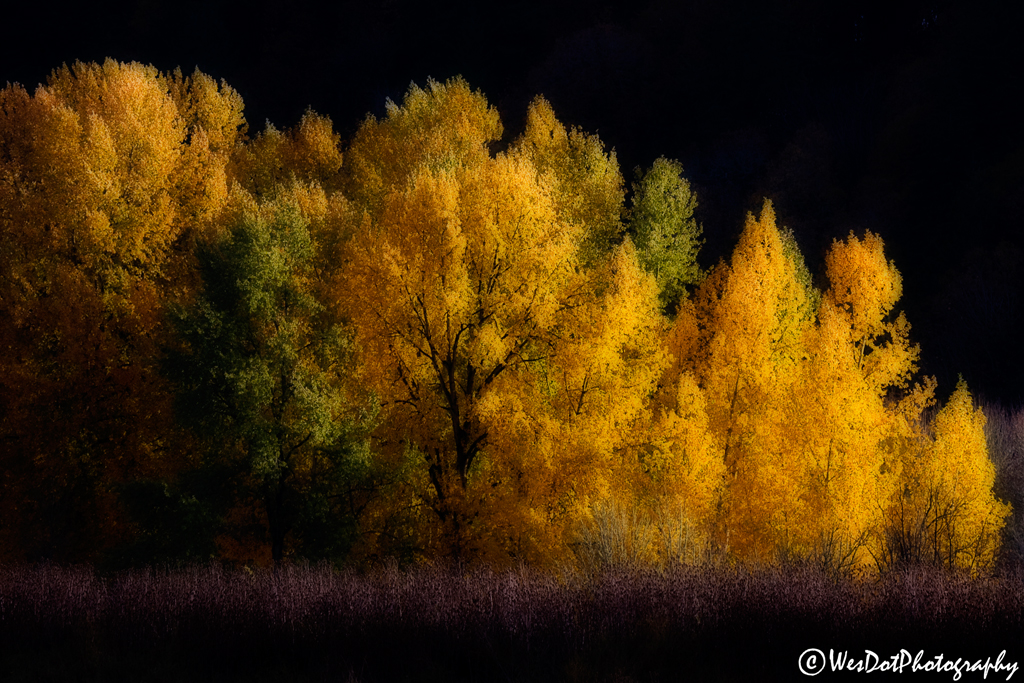
Autumn's Last Hurrah D0932 Non-Orton image. An okay image with some nice colors.
Picture
Autumn's Last Hurrah D0932 Orton image. The same image as above with a digital Orton Technique applied.

Here is the step by step procedure to give your photos the painterly look that you see on this sample.  I use Photoshop CS5 so these instructions may need to be adjusted a bit according to your system.

  1. Duplicate image (image>duplicate).  Close original
  2. Lighten the image: Image>Apply Image.  In the dialogue box that comes up, change blending mode to ‘screen’ & opacity to 100%
  3. Duplicate this overexposed image: Image>Duplicate
  4. Blur this 2nd image: Filter>Blur>Gaussian Blue..in the dialogue box that comes up use Radius setting of 15 to 50 pixels.  The higher the number the blurrier the photo & the more ‘painterly’ the image.  
  5. With both image copies visible, select the move tool.  Hold down ‘Shift’ key and drag & drop the blurry image onto the sharp one.  Don’t release shift key until you release the mouse or they won’t line up.
  6. In layers change the blend mode from ‘normal’ to ‘multiply’.  Chg opacity to alter effect
  7. Flatten the layers and make any additional adjustments in Photoshop.          

This artsy touch doesn’t seem to be something for every image but works really well with scenery and some nature shots.  It certainly can make some nice images even more stunning.  Enjoy.
1 Comment
Windows online support and troubleshoot number link
7/21/2013 09:39:56 pm

You are really a great man and thanks for sharing this valuable tip with the readers. It was a great help for the Photoshop users like me and I had a lovely time over here. Keep up these good postings from you and thank you very much.

Reply

Your comment will be posted after it is approved.


Leave a Reply.

    Our Flickr Photos

    Author

    Name:
    Wes & Dotty Weber

    Occupation:
    Photographers at Heart

    Favorite Camera:
    Canon  5DMarkIII and Canon 7DMarkII

    Favorite Subjects:
    Absolutely everything.

    Favorite Vacation Spot:
    Everywhere we’ve been has it’s own special beauty and some places like Yellowstone National Park and the Desert Southwest can be unlike anywhere else.  But to name a favorite is hard as we’ve not seen everything, yet.  

    Personal Motto:
    "Everywhere you look is a great image if you look closely”


    Archives

    November 2018
    January 2018
    November 2016
    December 2015
    July 2015
    January 2015
    February 2014
    November 2013
    July 2013
    June 2013
    May 2013
    February 2013
    January 2013
    November 2012
    September 2012
    August 2012
    March 2012
    February 2012
    December 2011
    October 2011

    RSS Feed

    Categories

    All
    Canvas
    Commerce
    Domain
    Email
    Fine Art America
    Framed
    Gallery Wraps
    Greeting Cards
    New
    Outage
    Prints
    Registrar
    Shopping
    Website
    Weekly
    Wesdotphotography

Copyright © Since 2000, WesDotPhotography All Rights Reserved.